Seeing the Sights Along I-70 and I-80We just returned from an 11-day road trip from Chicago to Colorado and back - driving 2,750 miles - on I-70 going out and on I-80 coming back. As always we hiked lots of great locations and saw all sorts of interesting sights to include: - Mid America Motor Works - Cross at the Crossroads: America’s Largest Cross - Kaskaskia Dragon - Combat Air Museum - Kansas Cosmosphere - Monument Rocks - World's Largest Easel - Cripple Creek and Victor Gold Mining Areas - Garden of the Gods - United States Air Force Academy - Wings of Change Statue - Statue of Liberty Replica - Heartland Museum of Military Vehicles - Strategic Air Command and Aerospace Museum - Iowa 80 – World’s Largest Truck Stop - Retro Rocket Ship - Moai Dude - Rock Island Arsenal Atomic Cannon, National Cemetery and Confederate Cemetery As always I took far too many photos - so I'll start posting them in the next day or two. If you can't wait to see some of the photos the we took during our trip, you can always check out our Facebook page at: www.facebook.com/HikingCampingandShooting 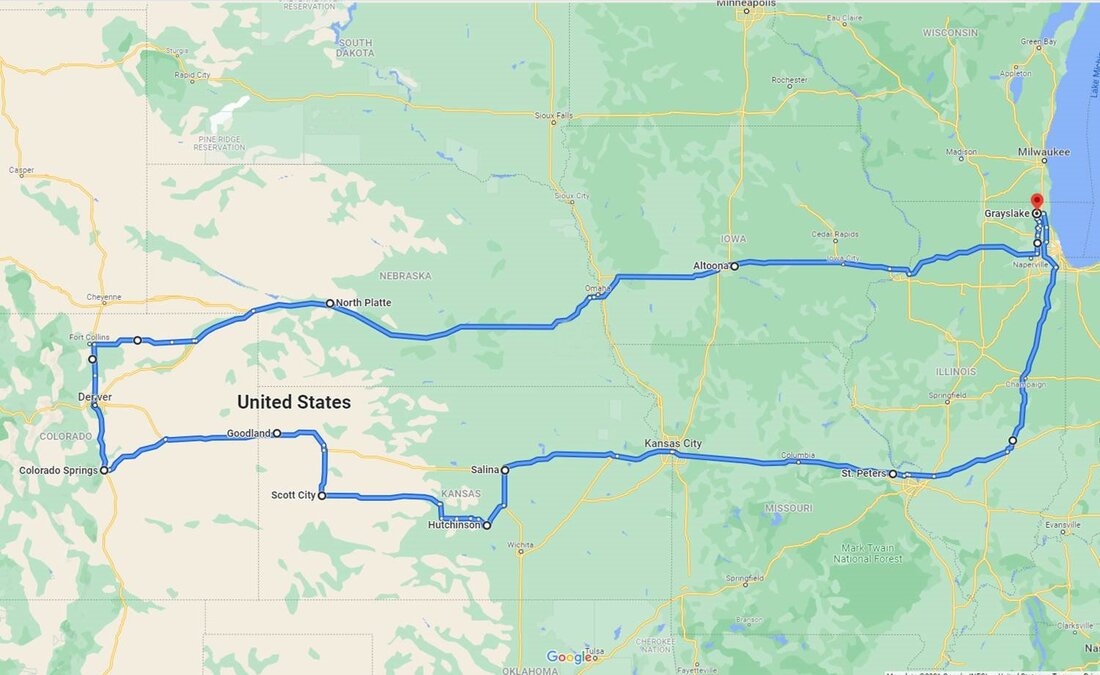 
0 Comments
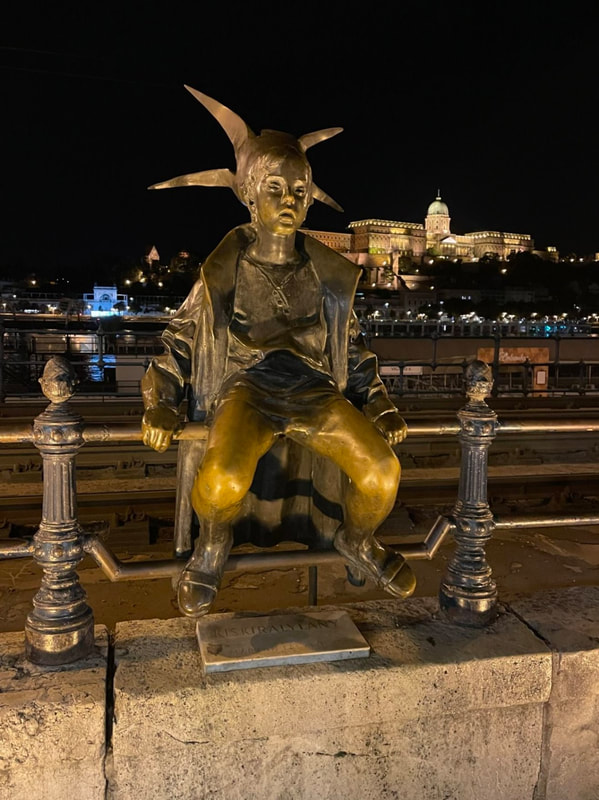
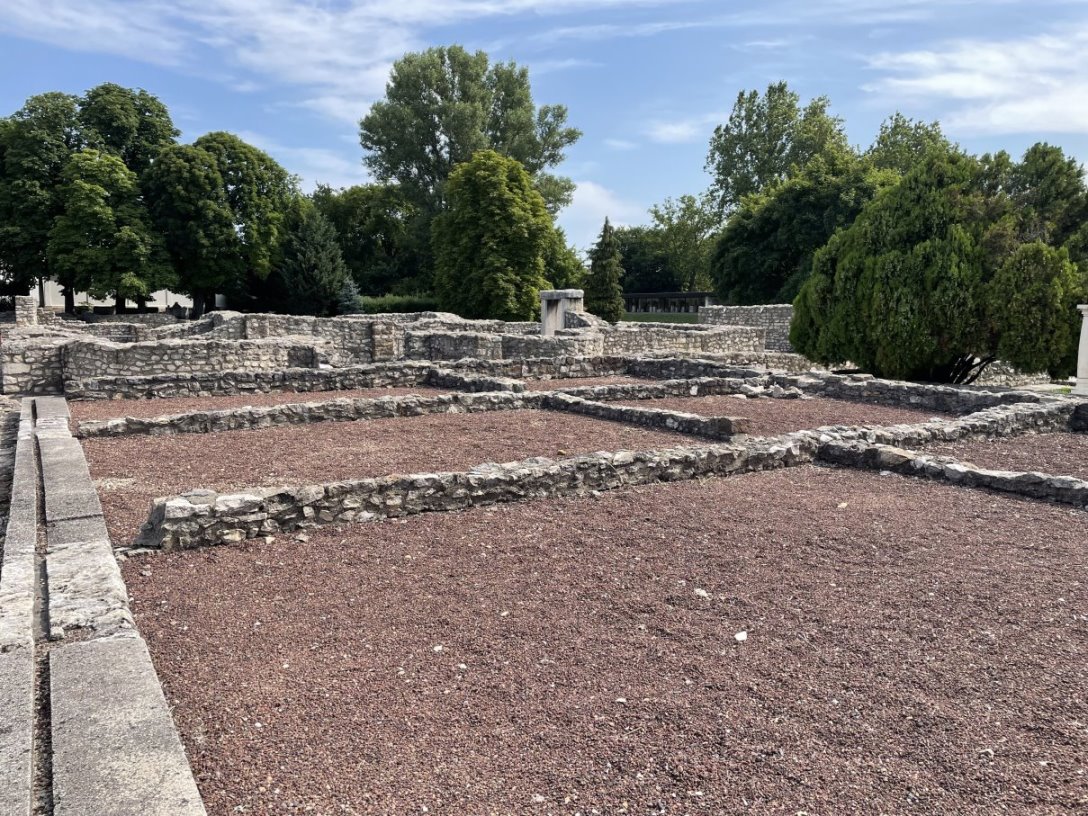
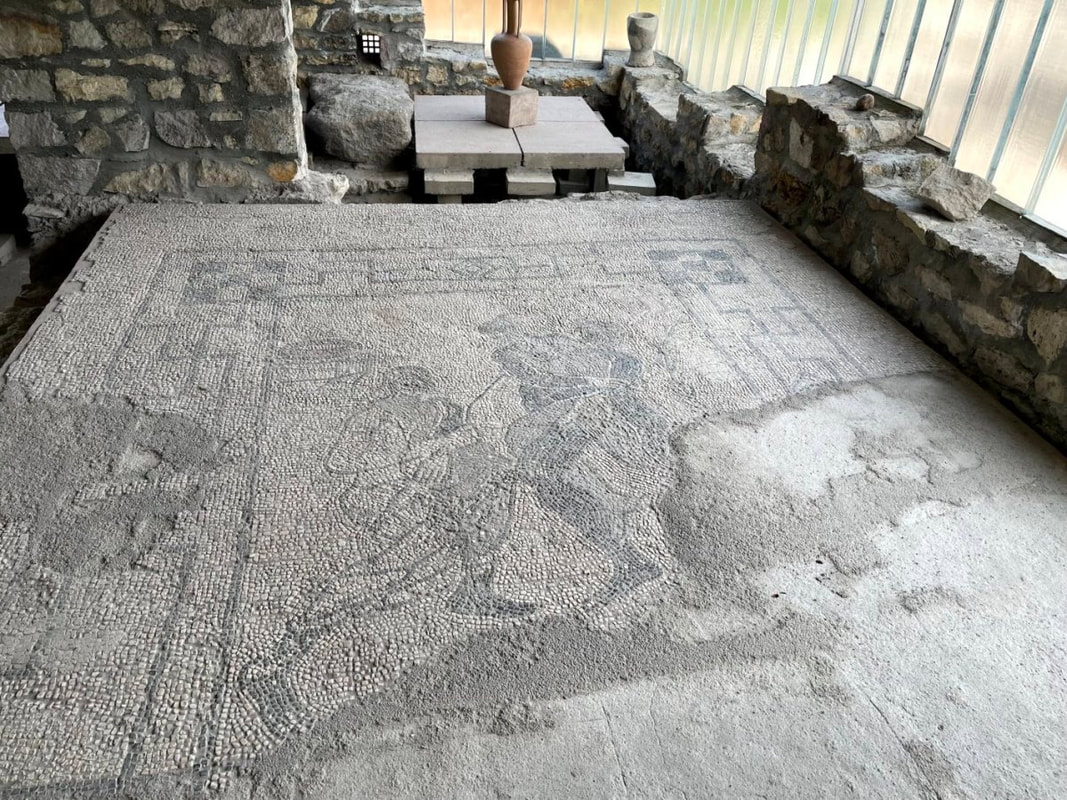
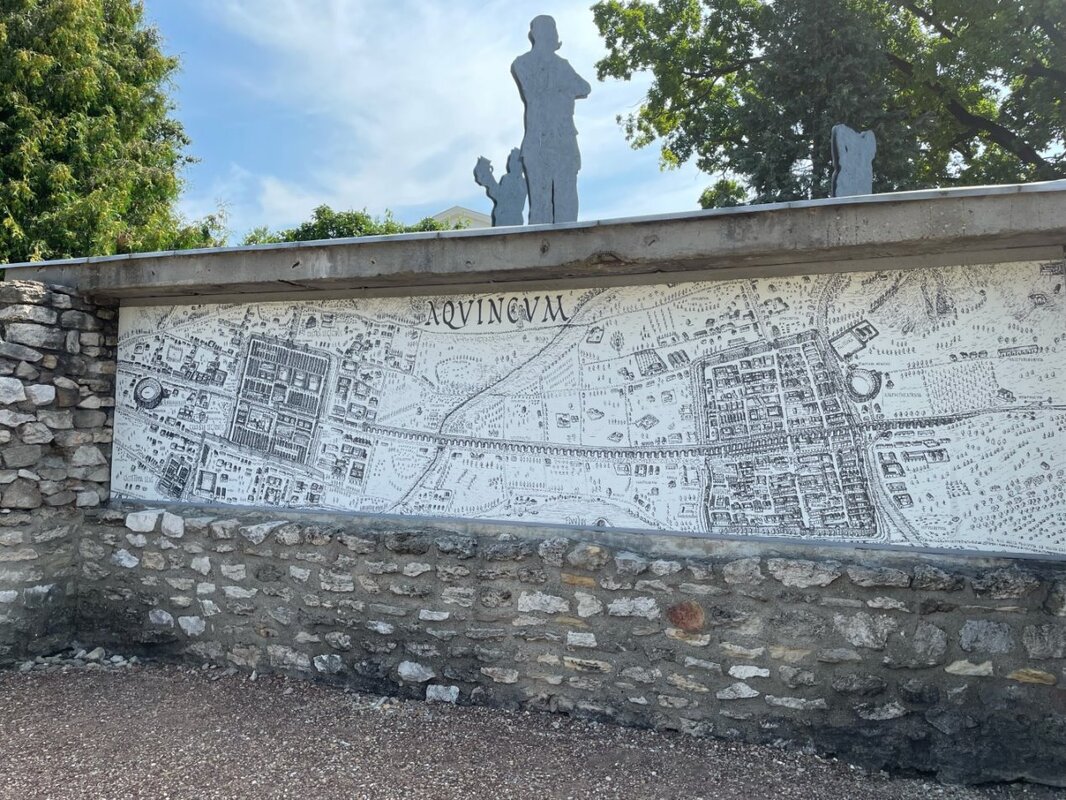
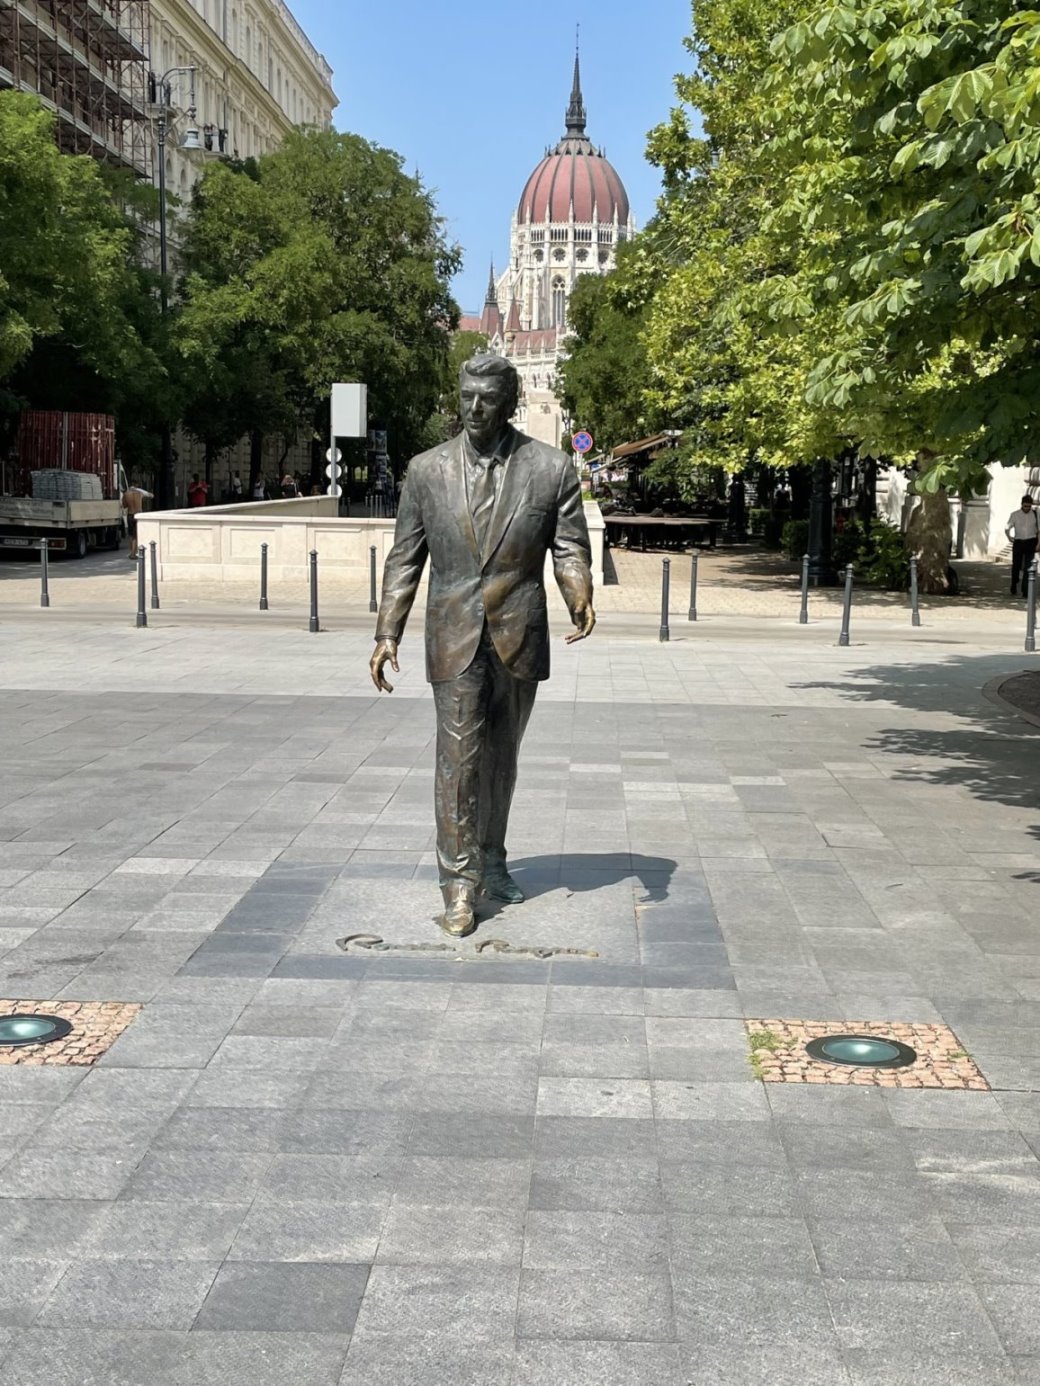
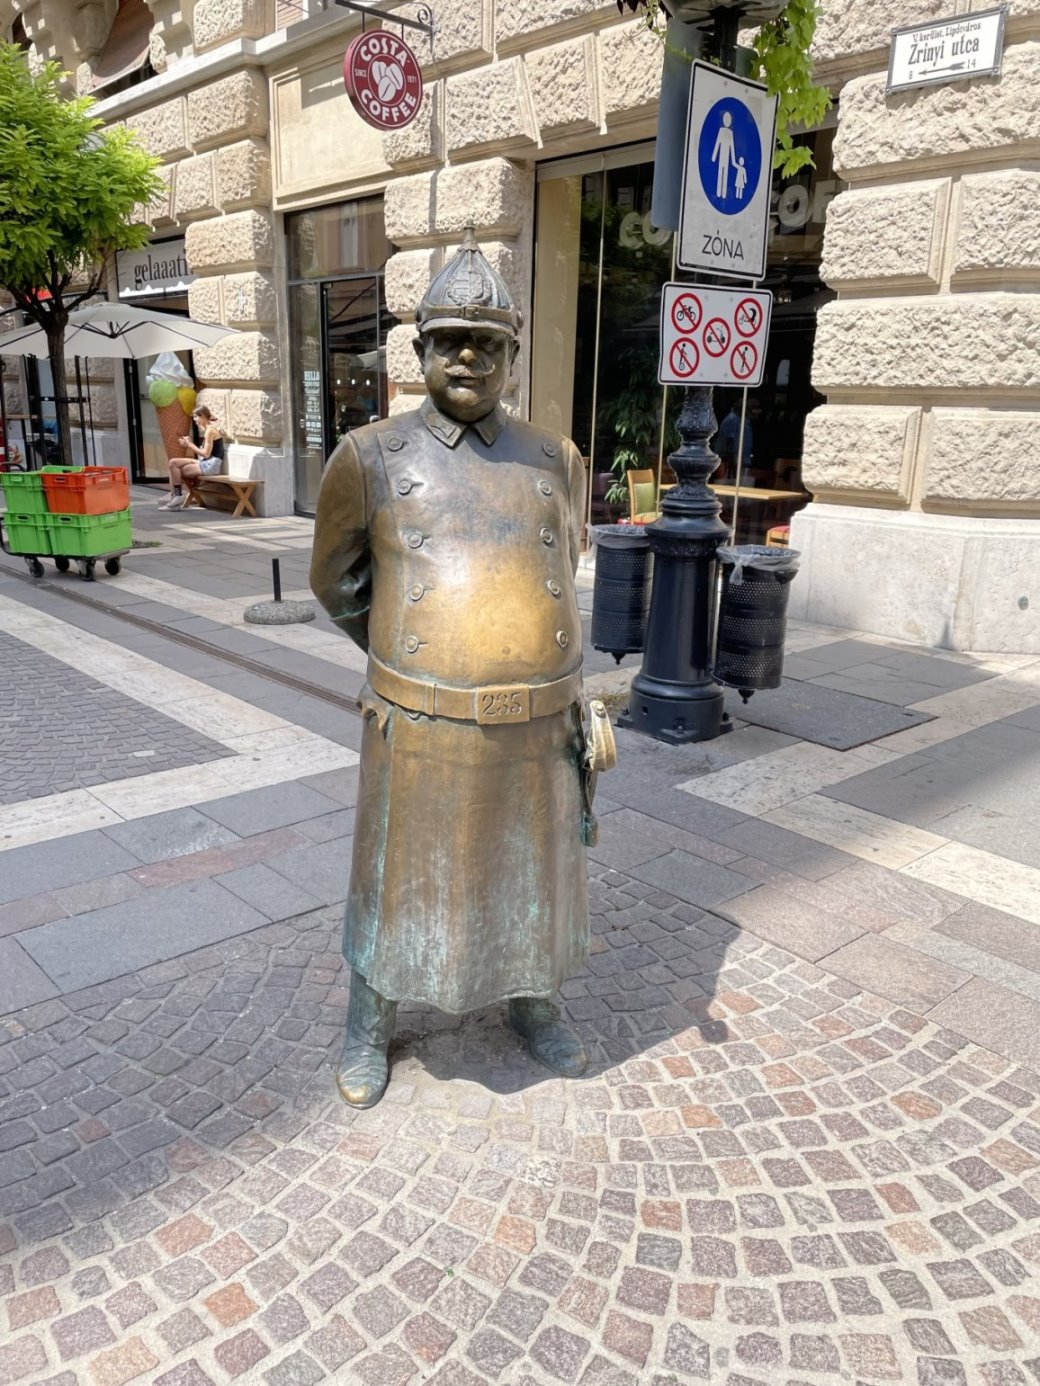
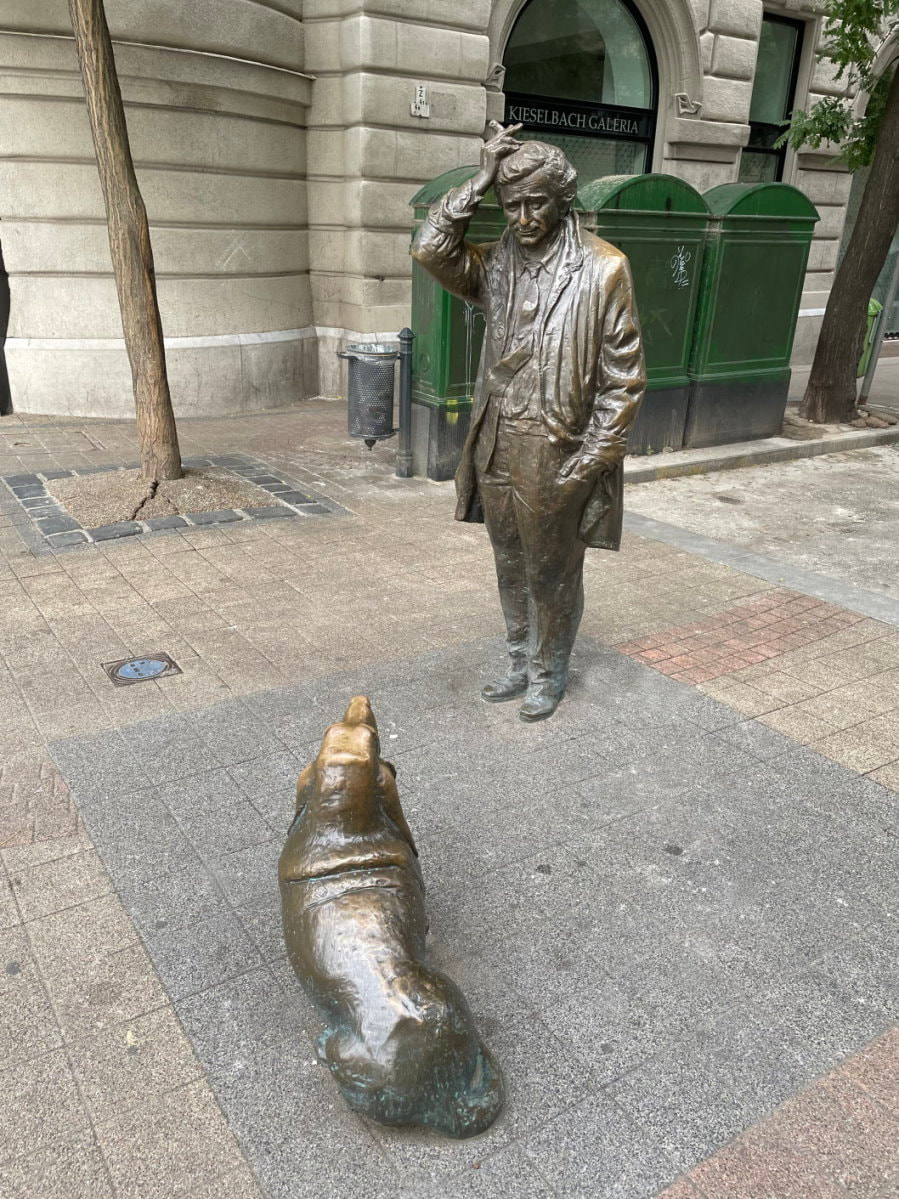
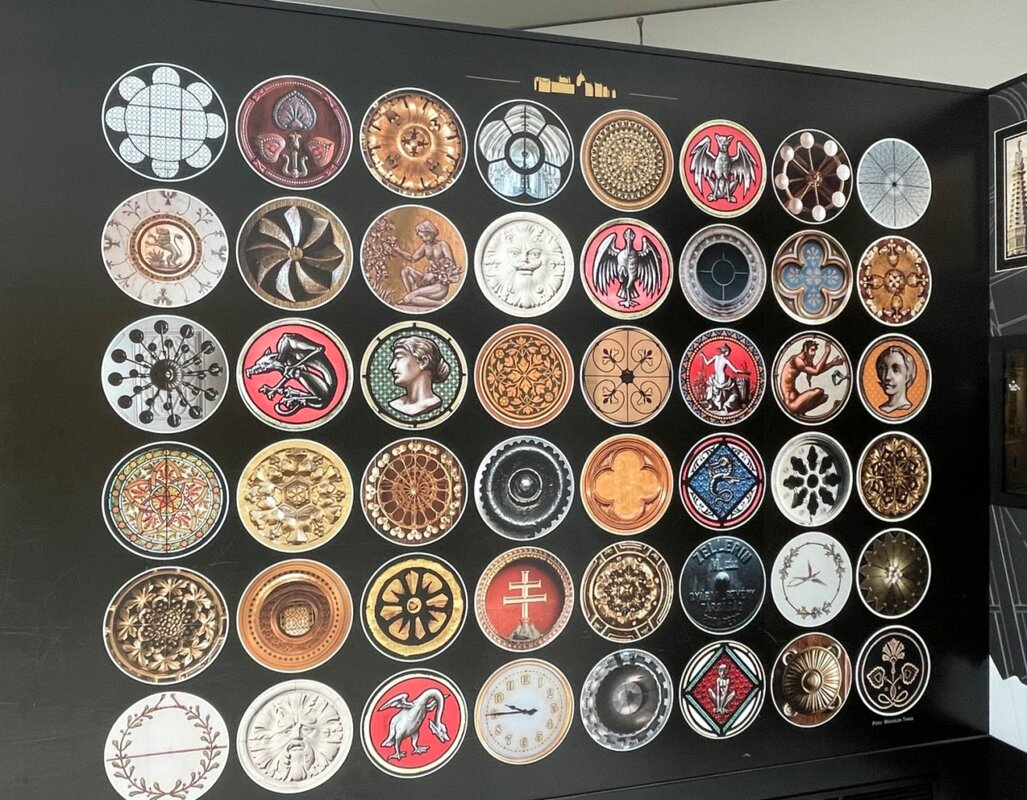
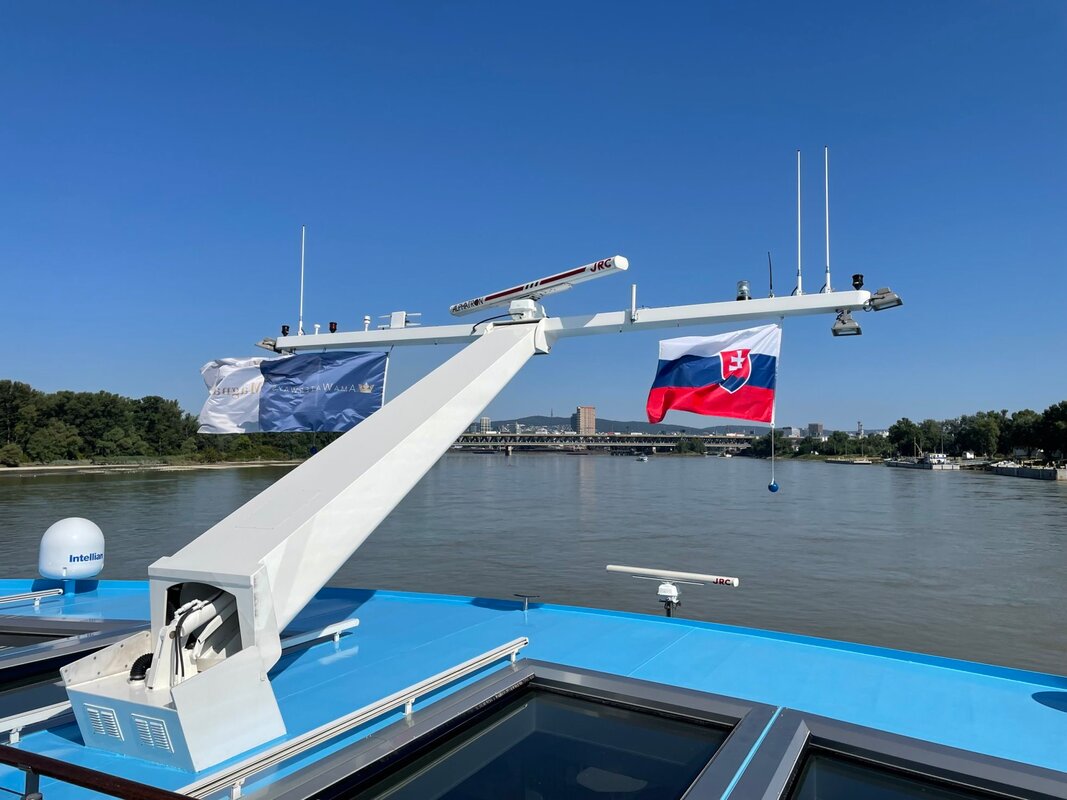
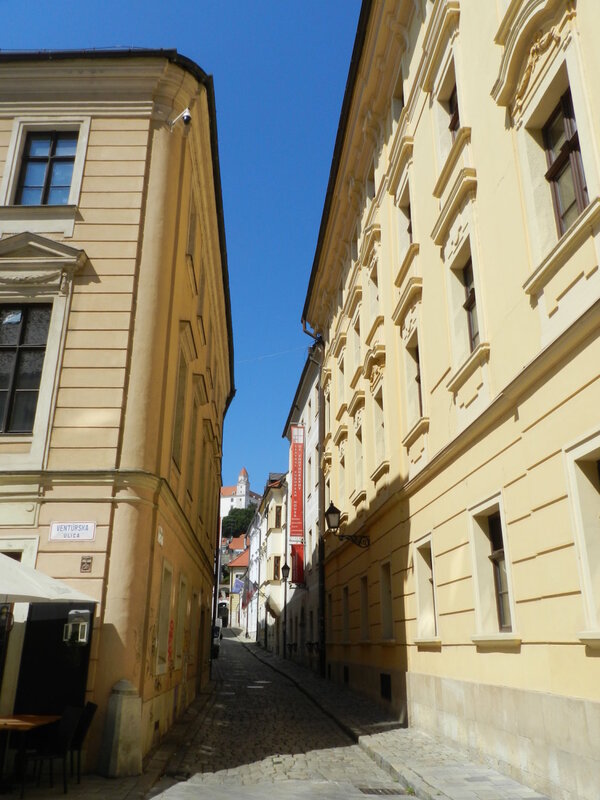
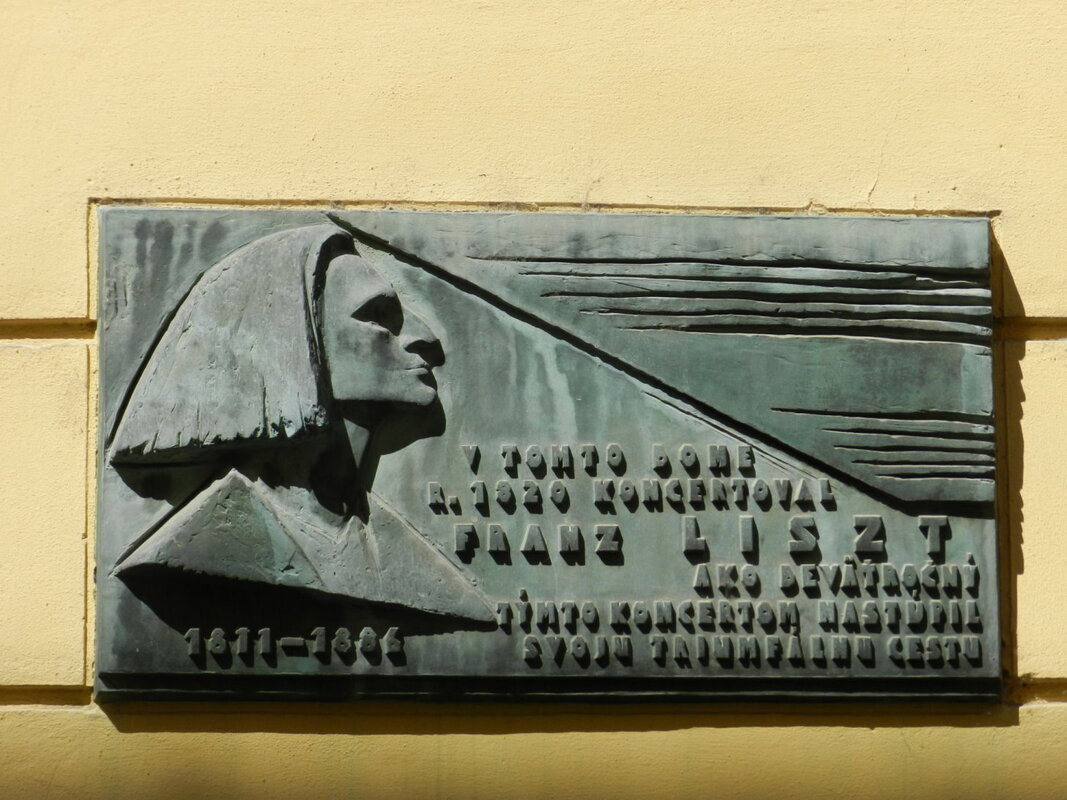
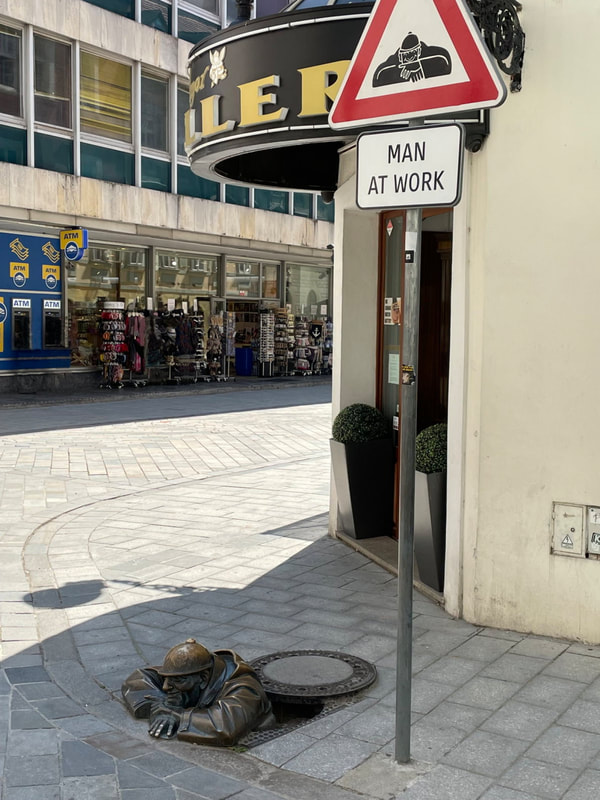
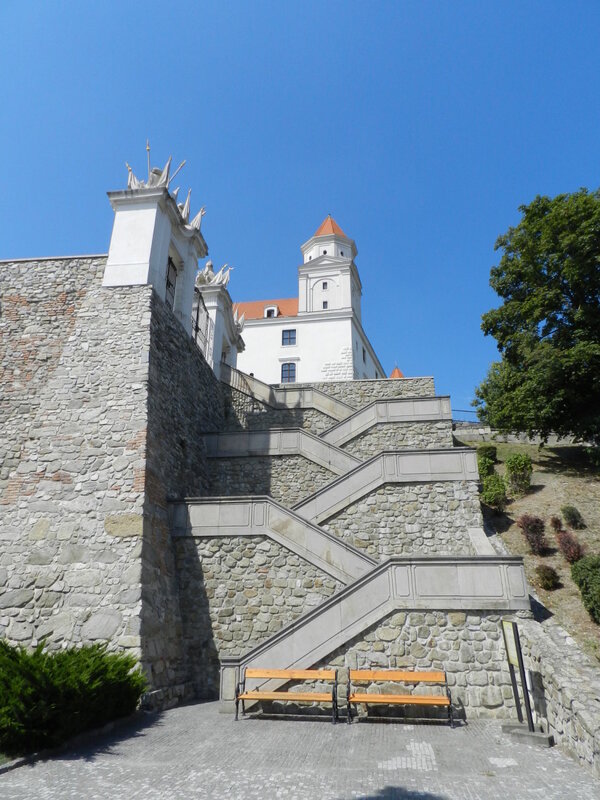
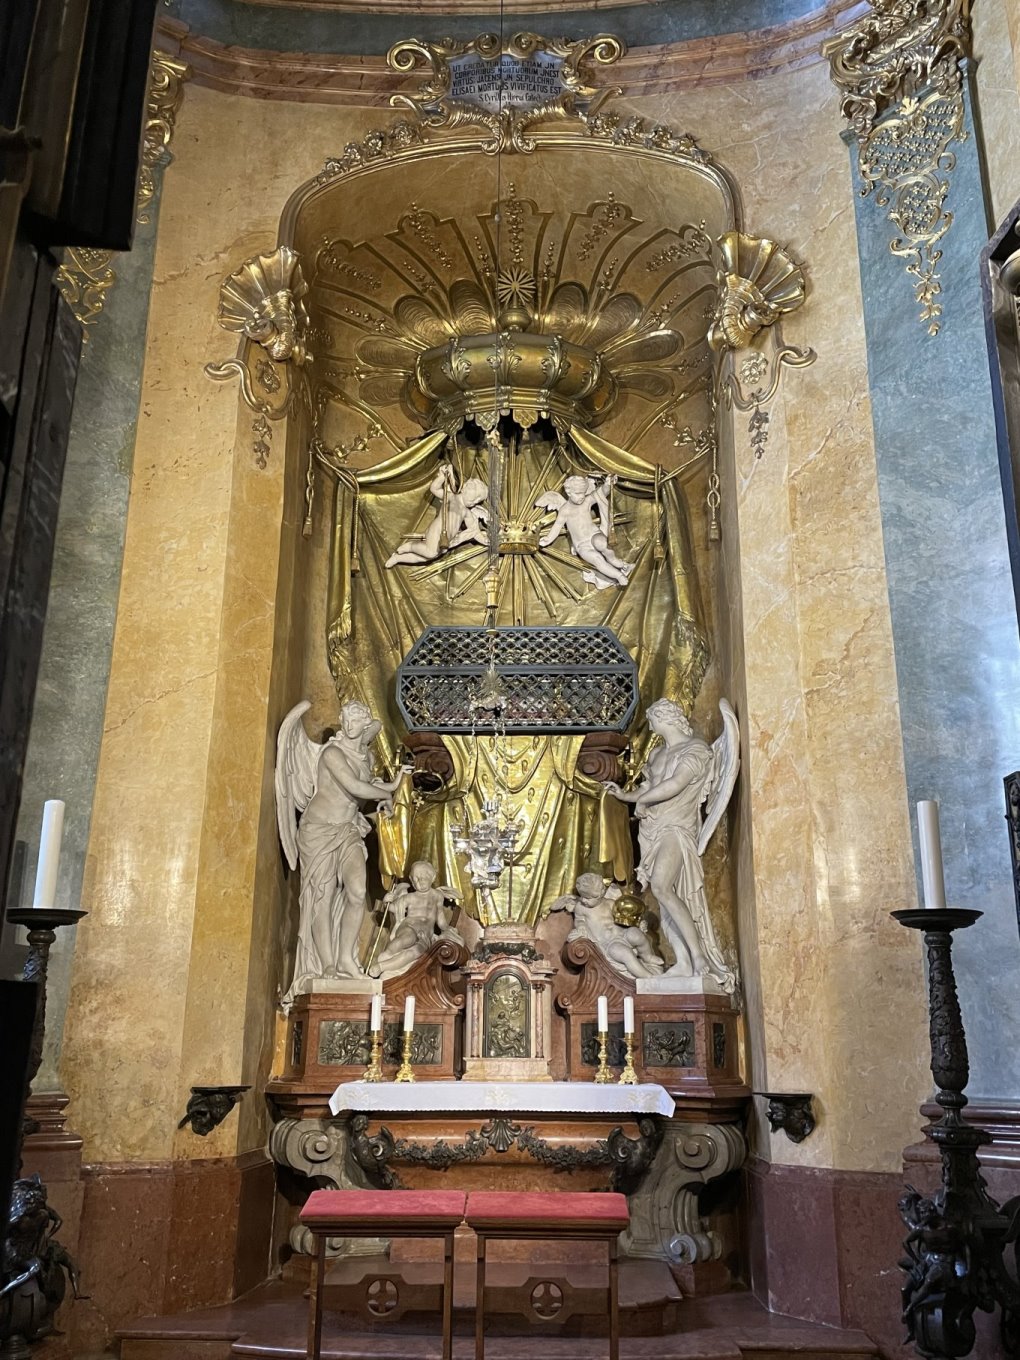
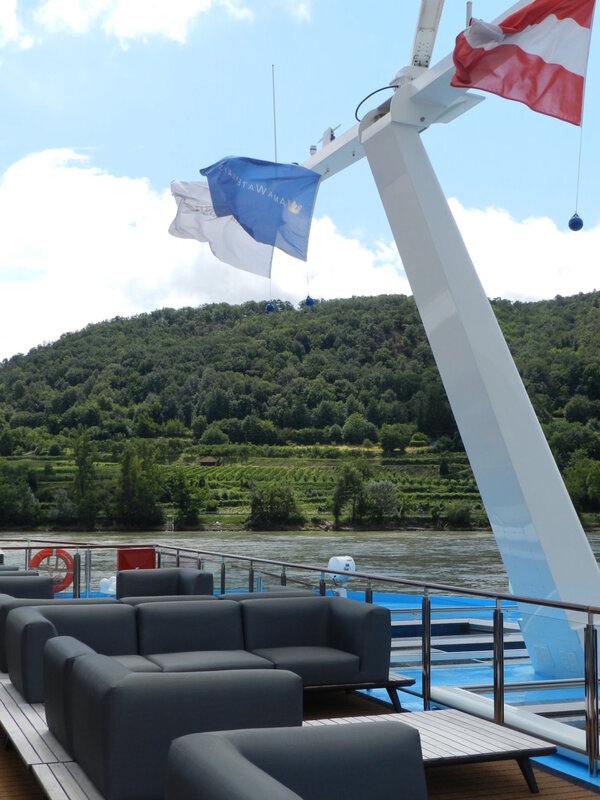
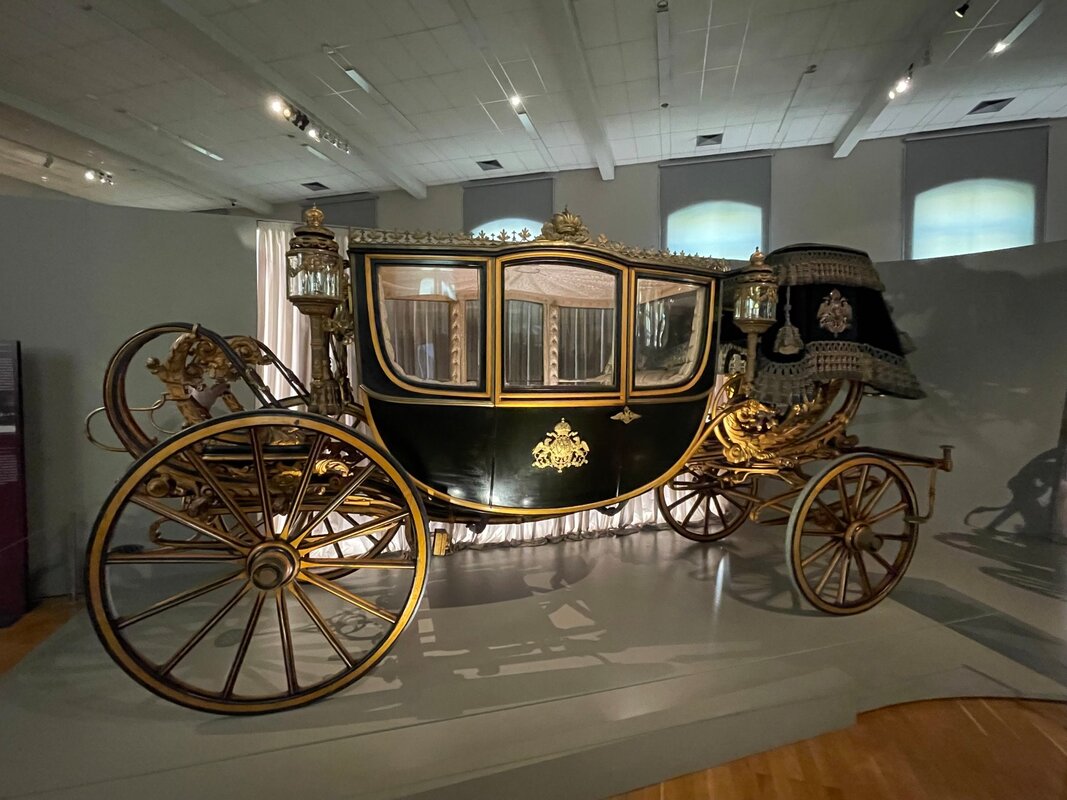
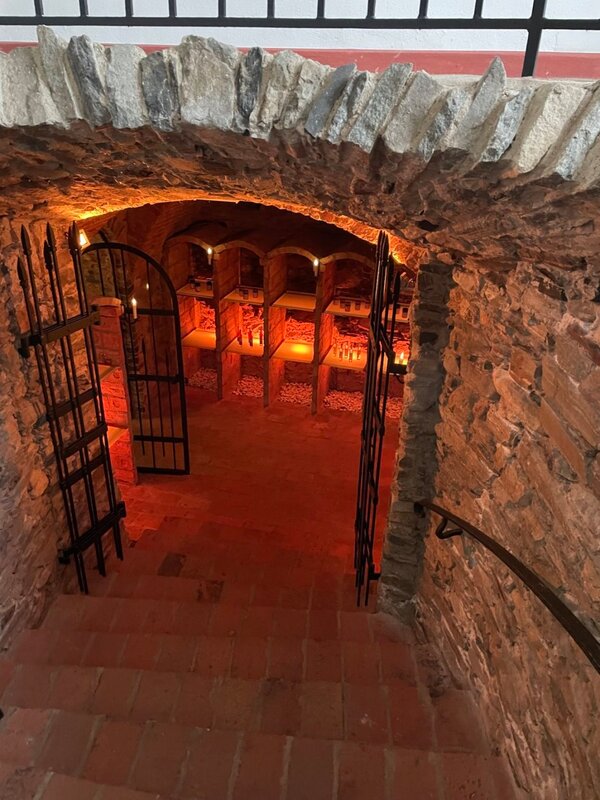
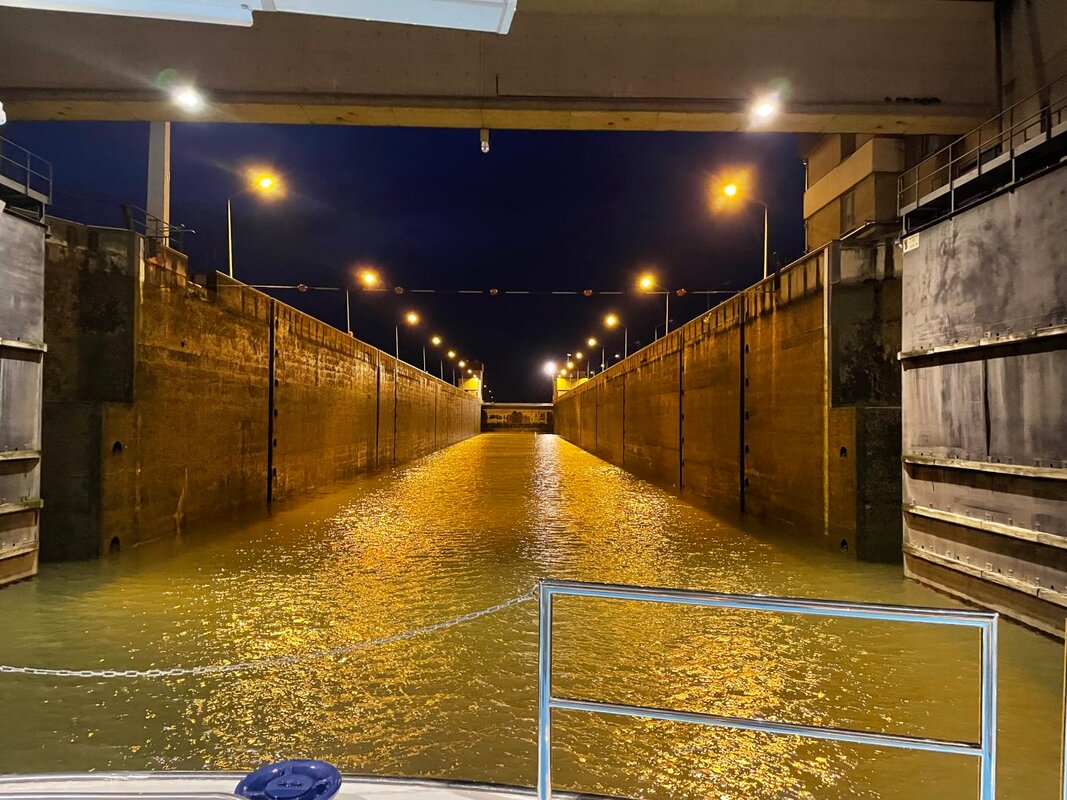
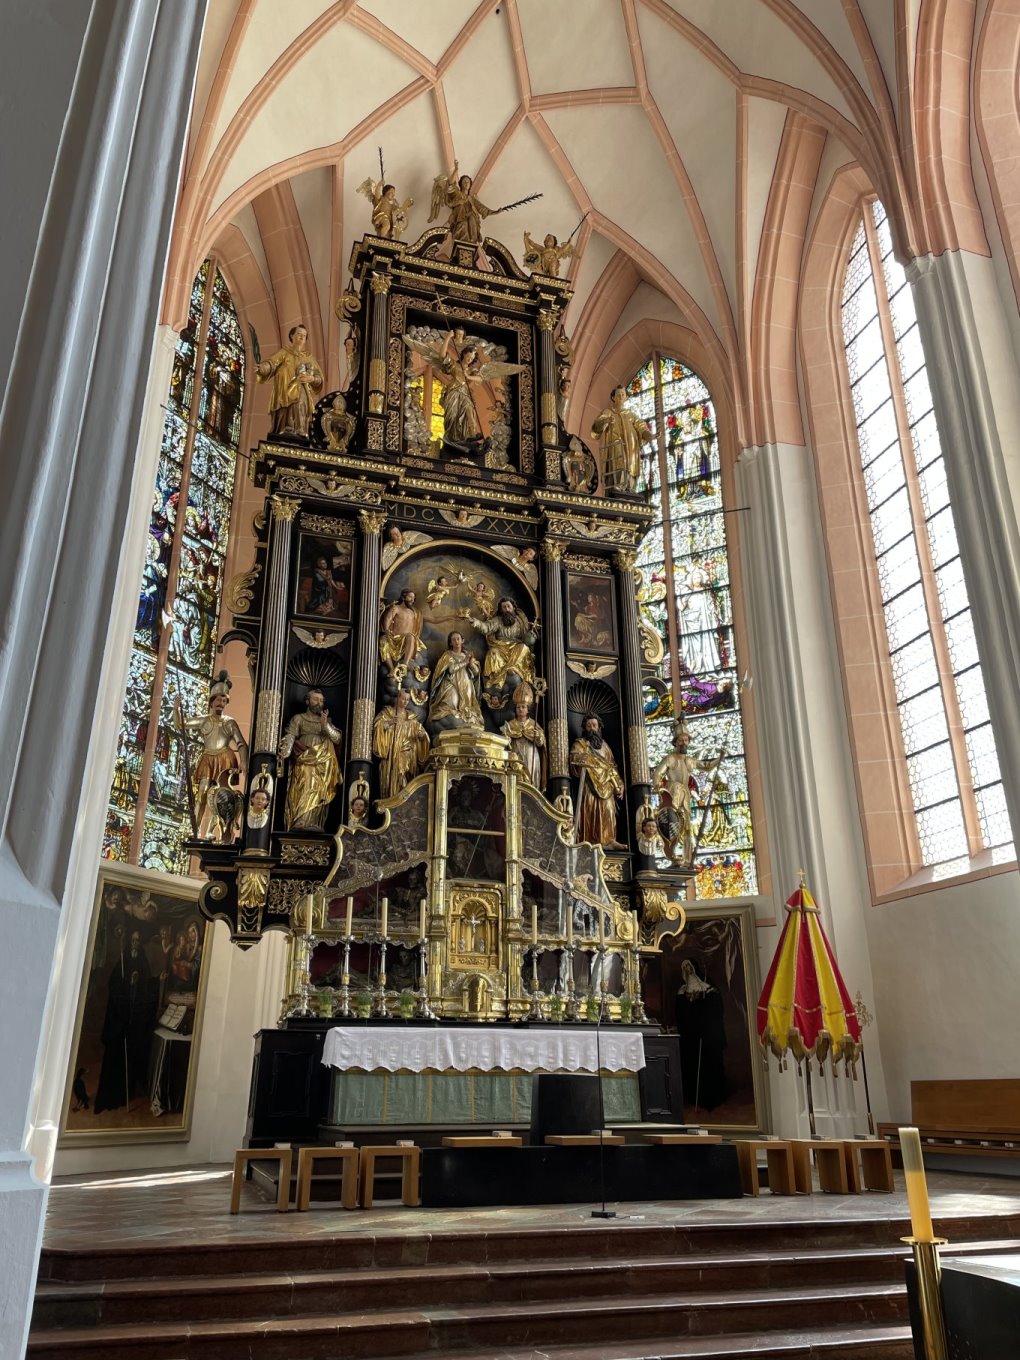
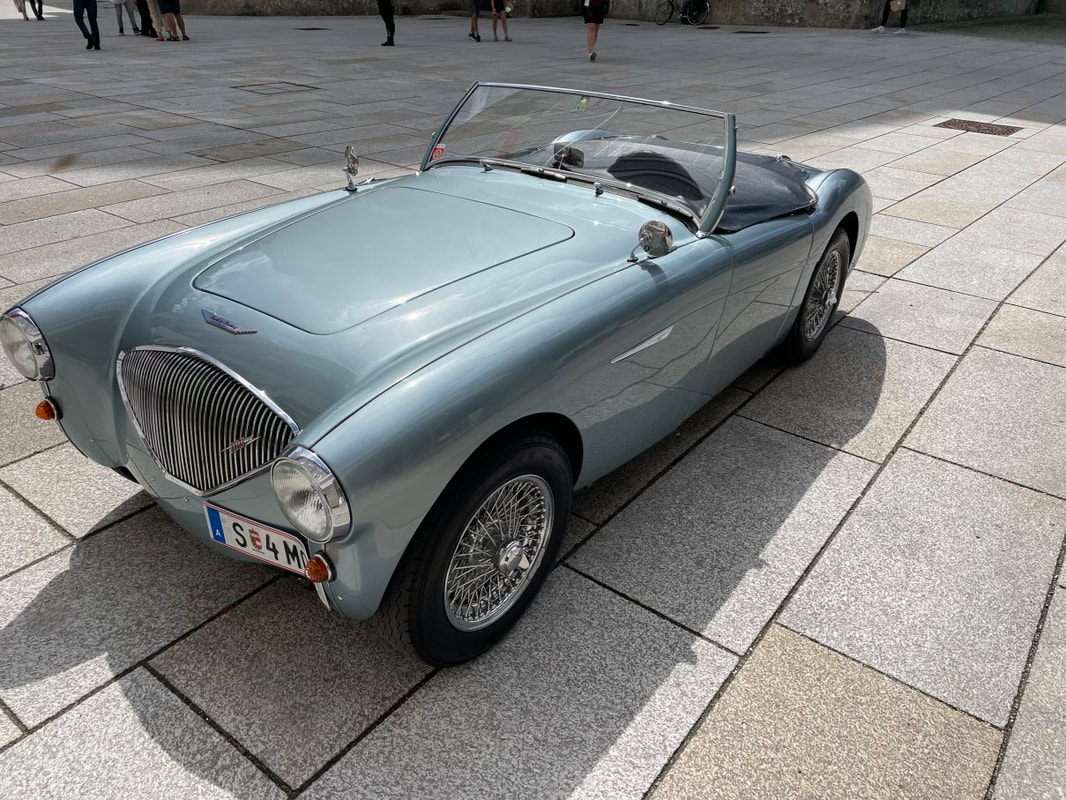
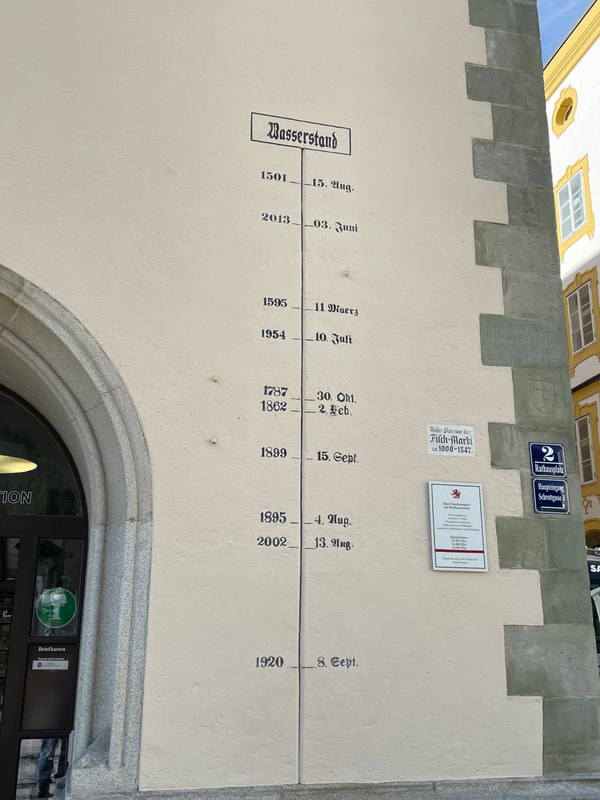
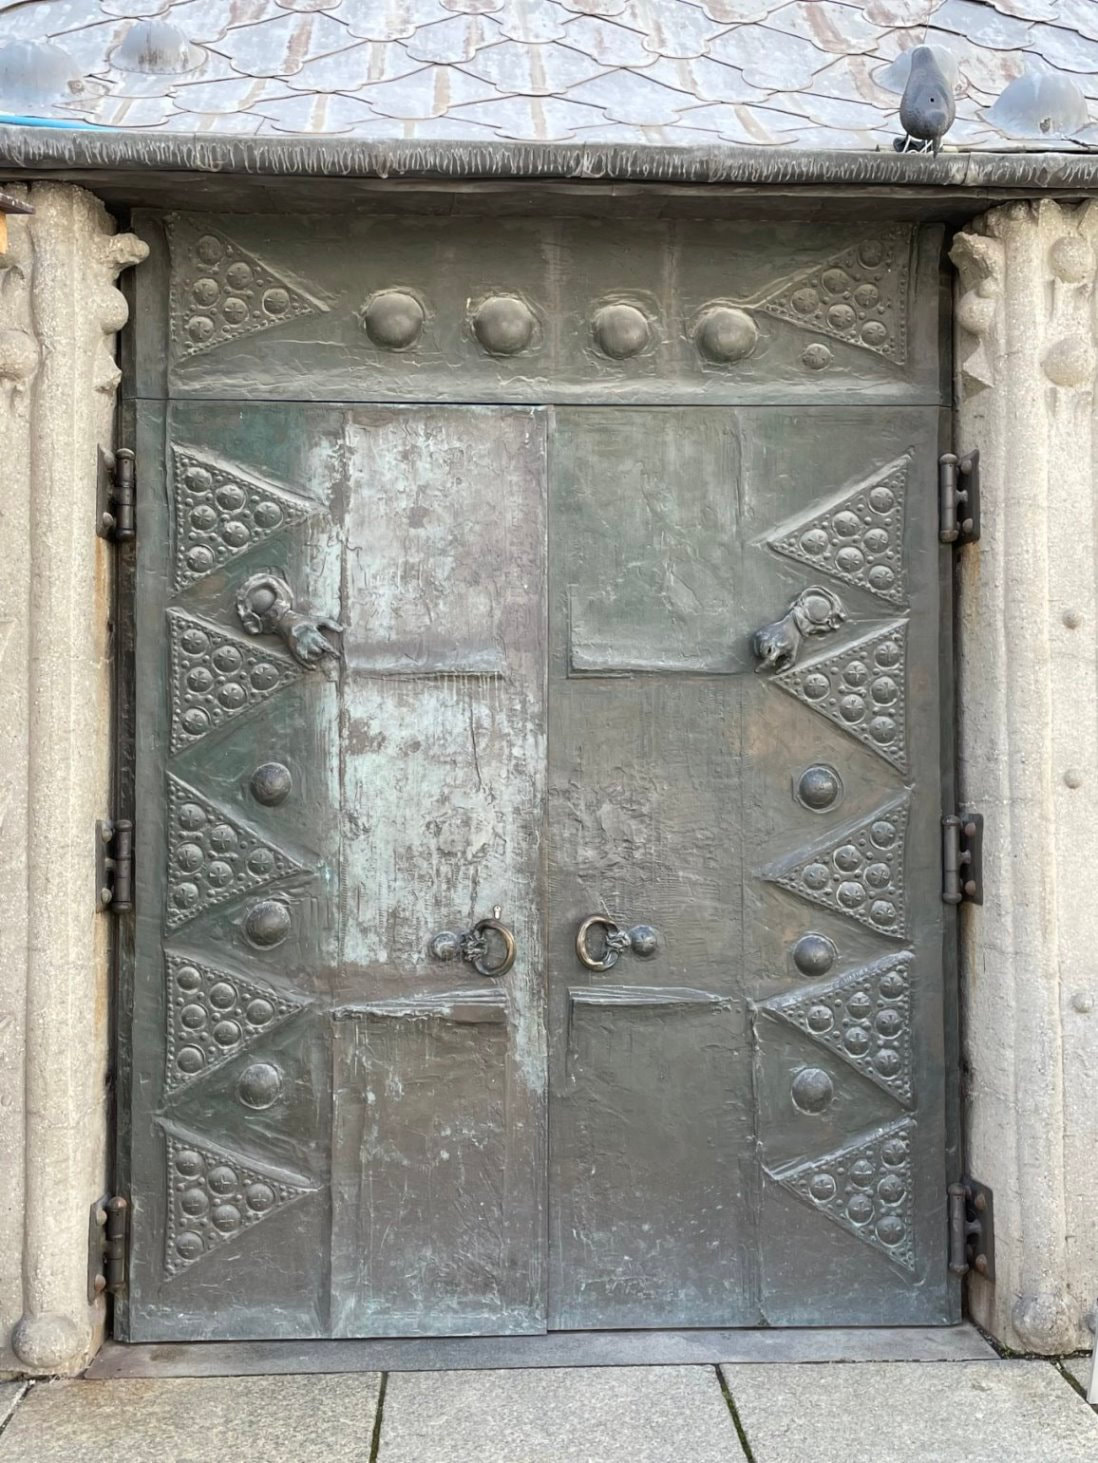
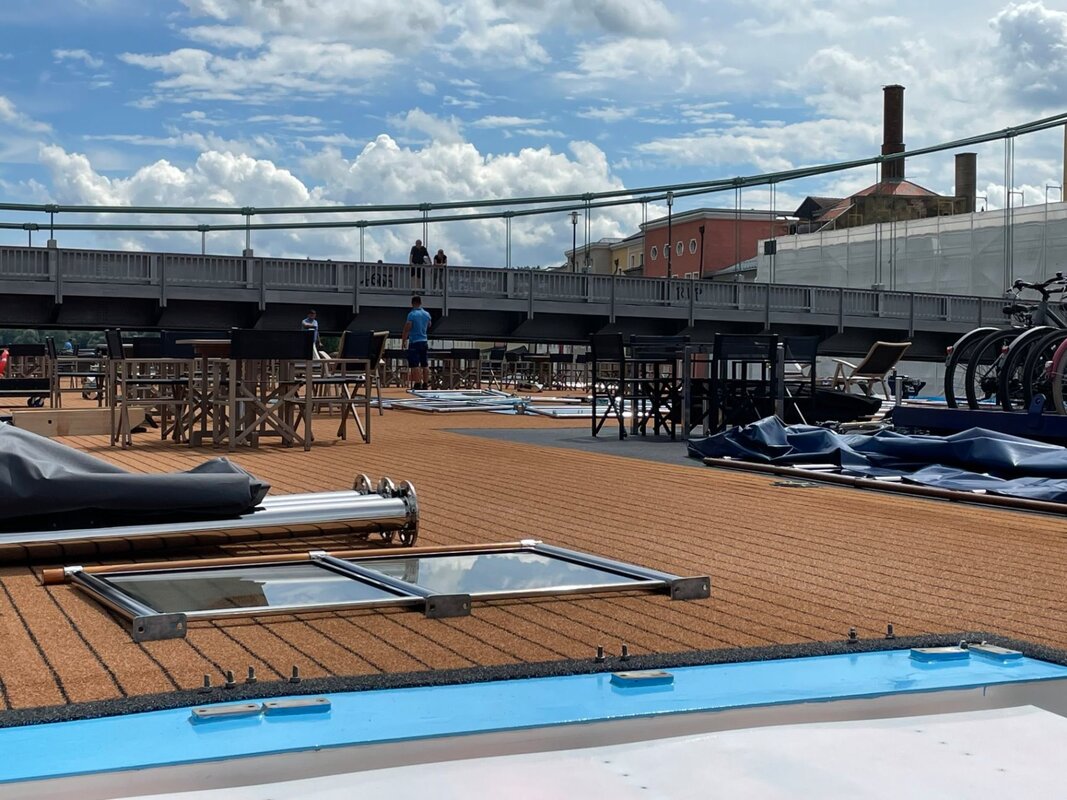
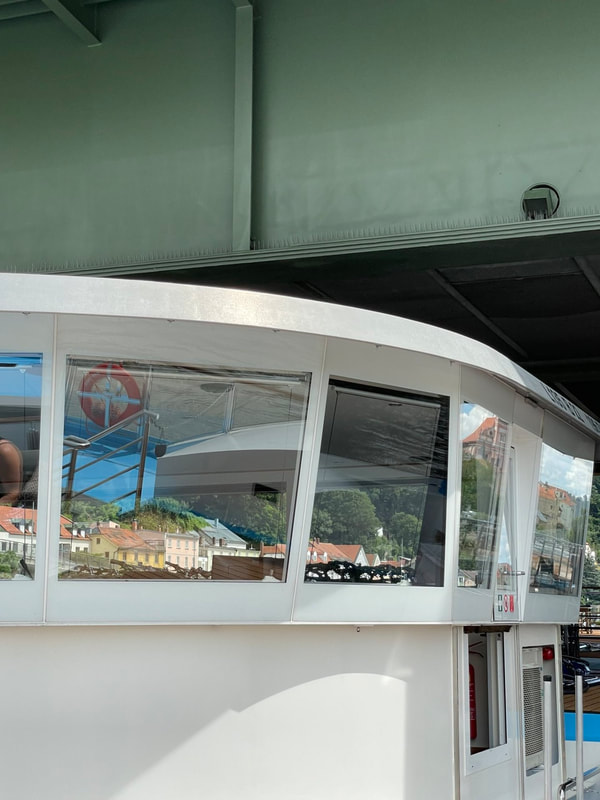
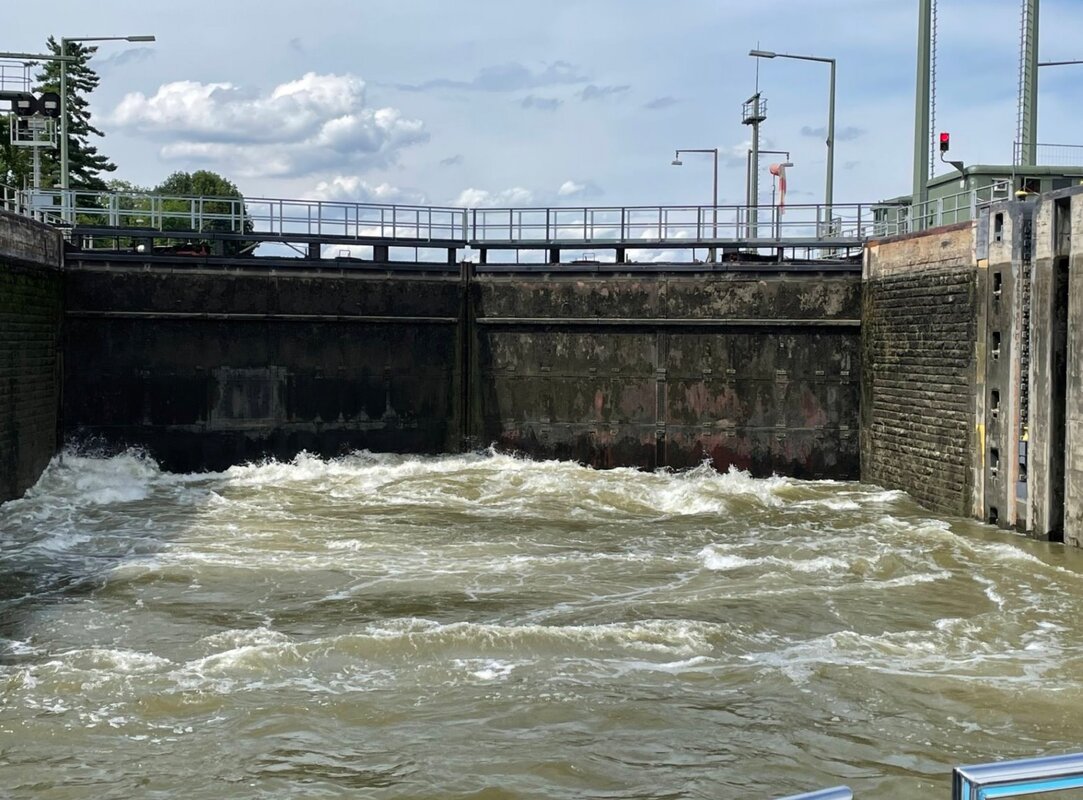
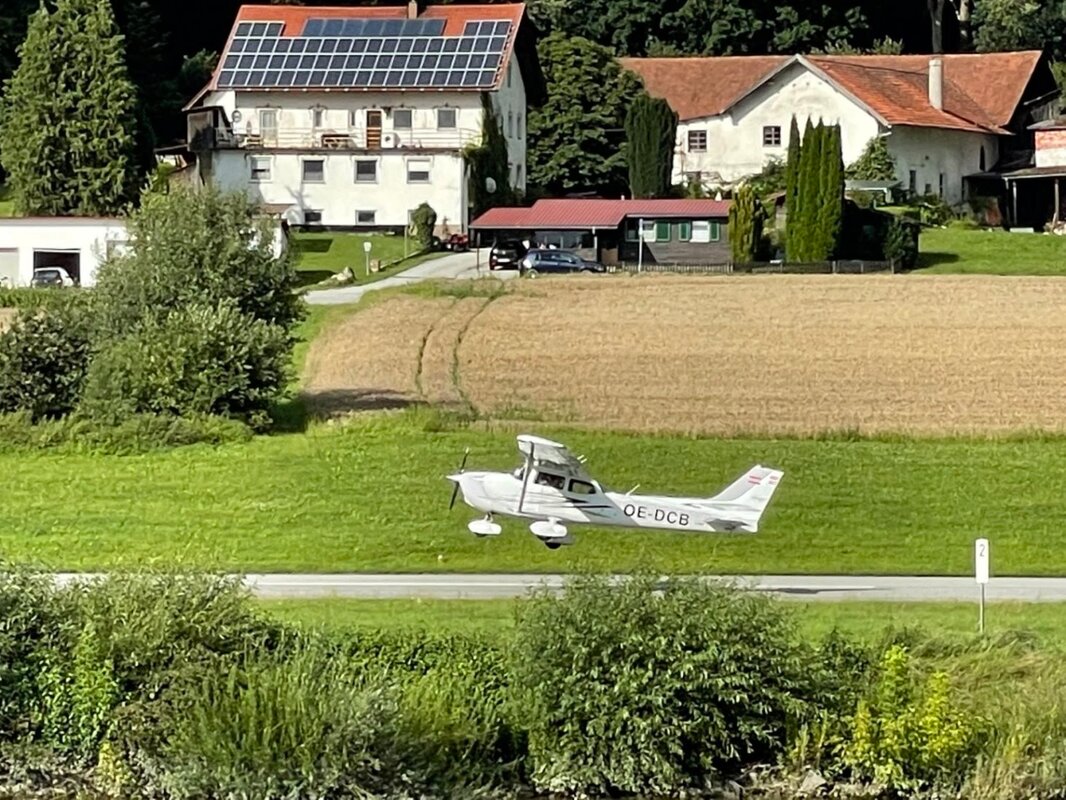
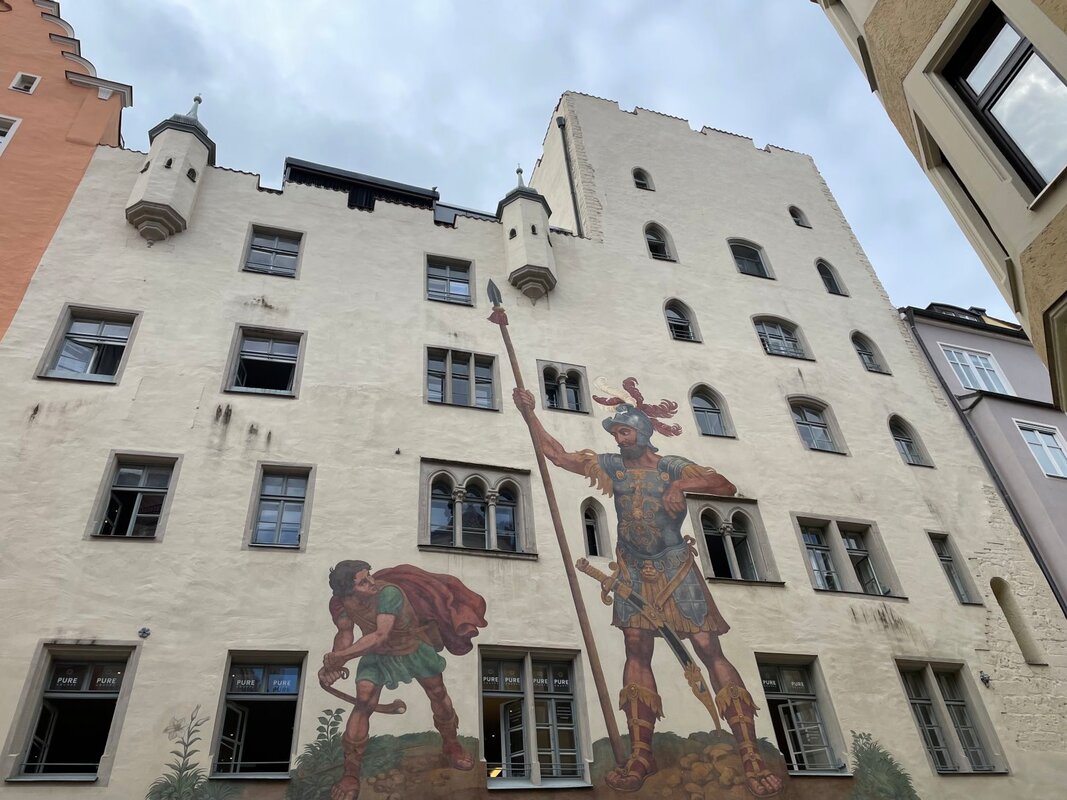
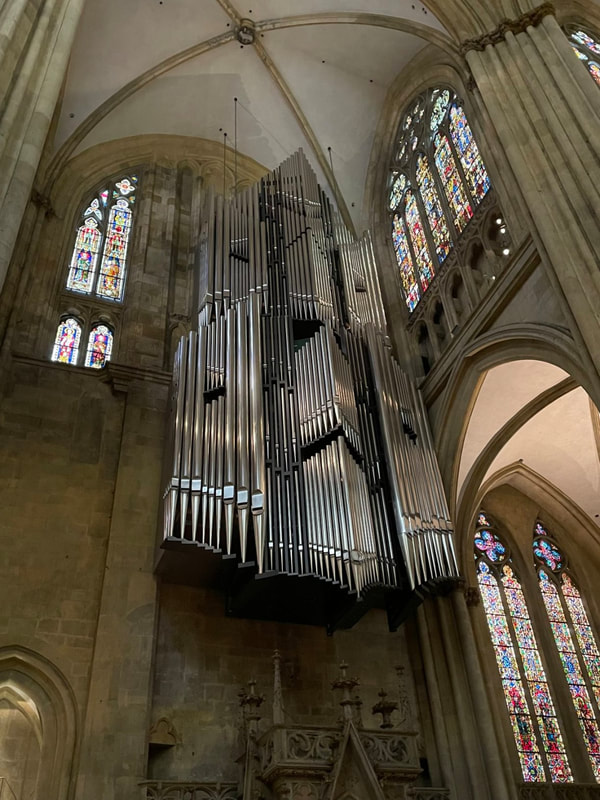
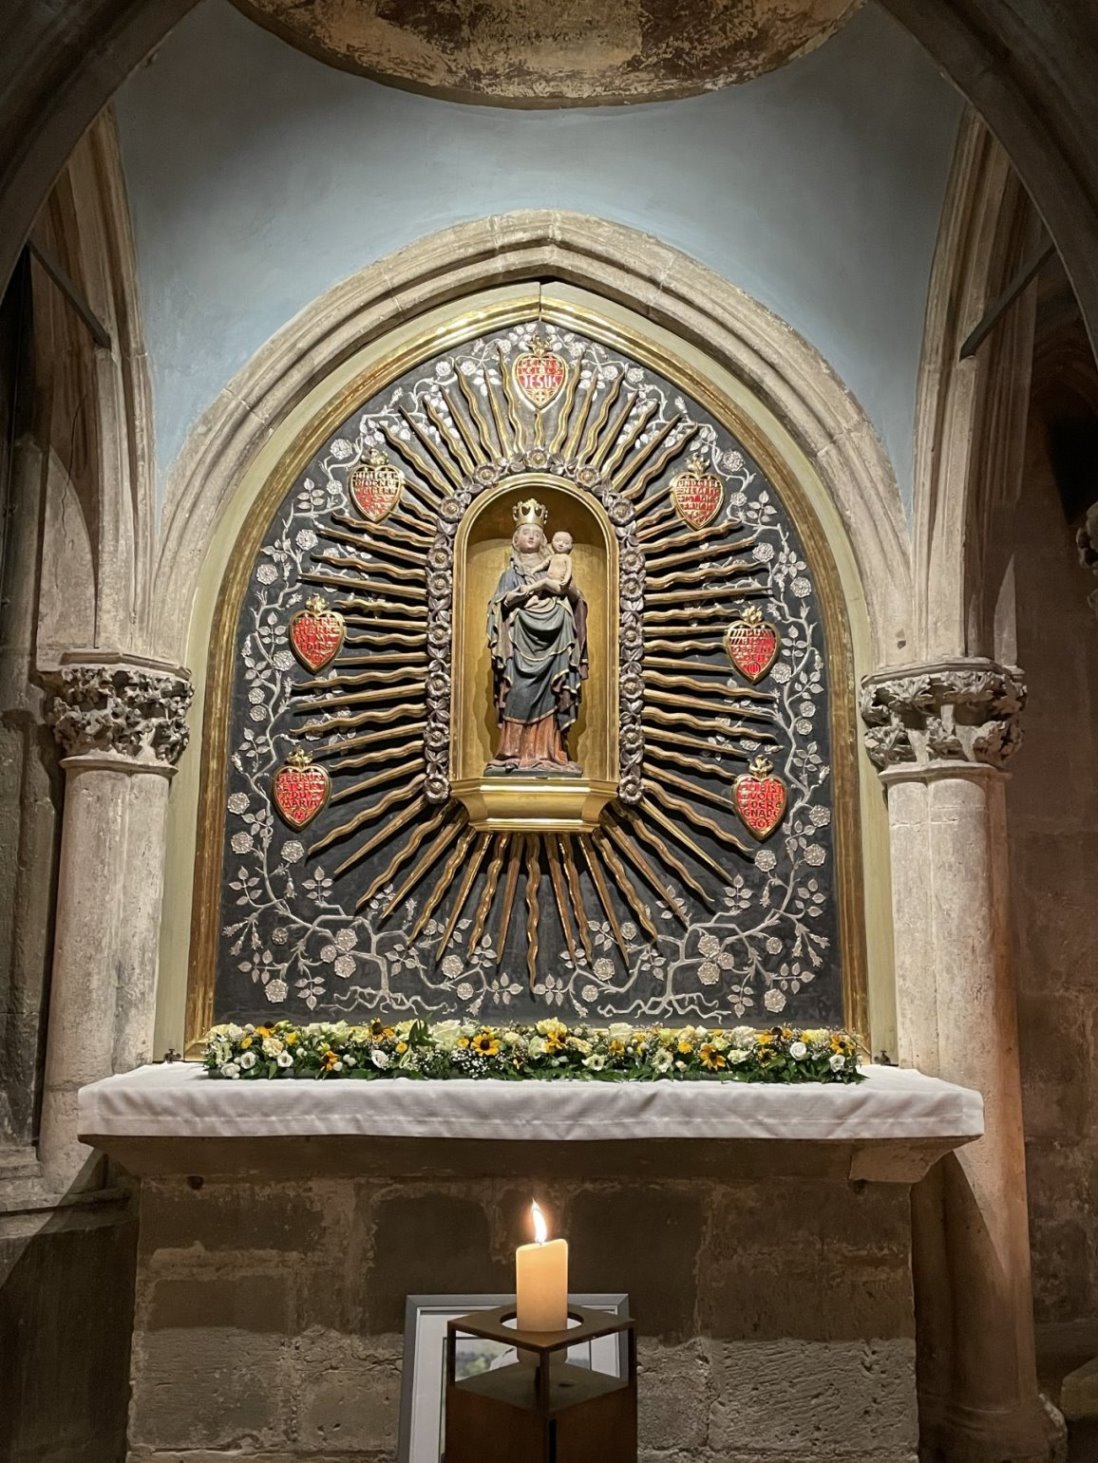
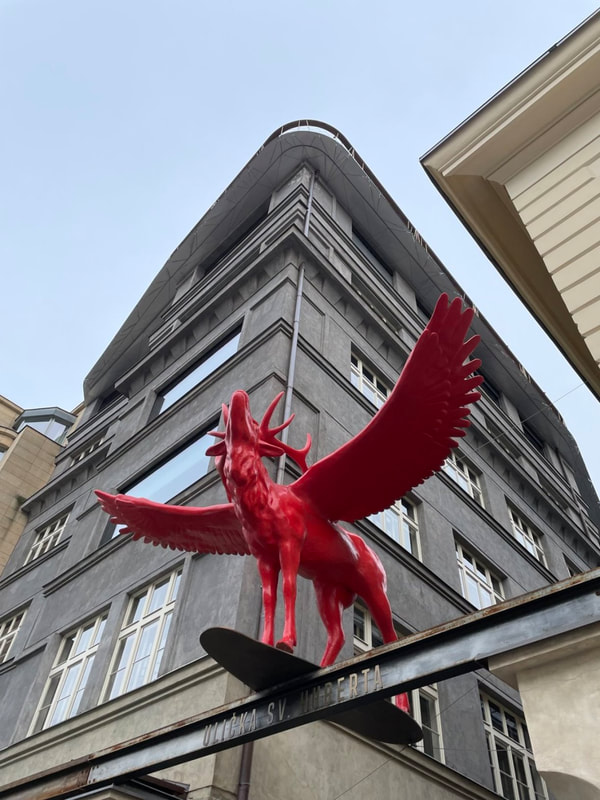
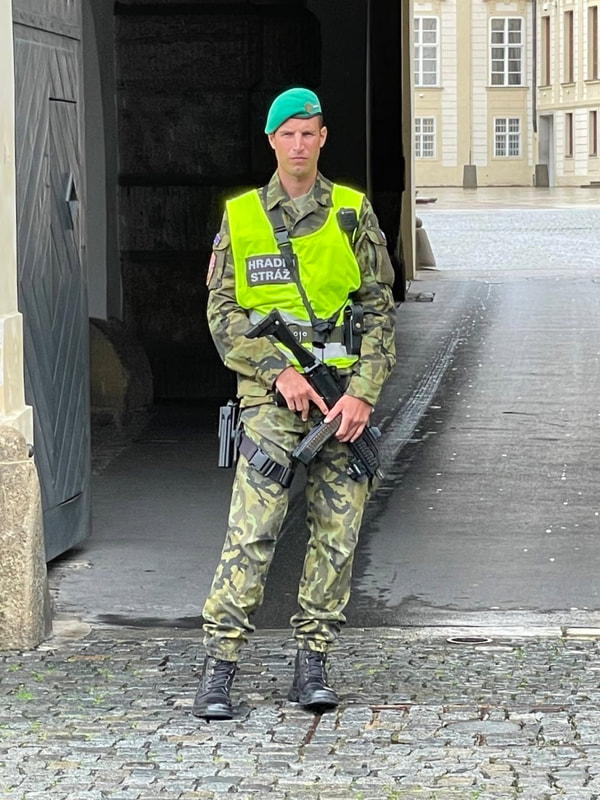
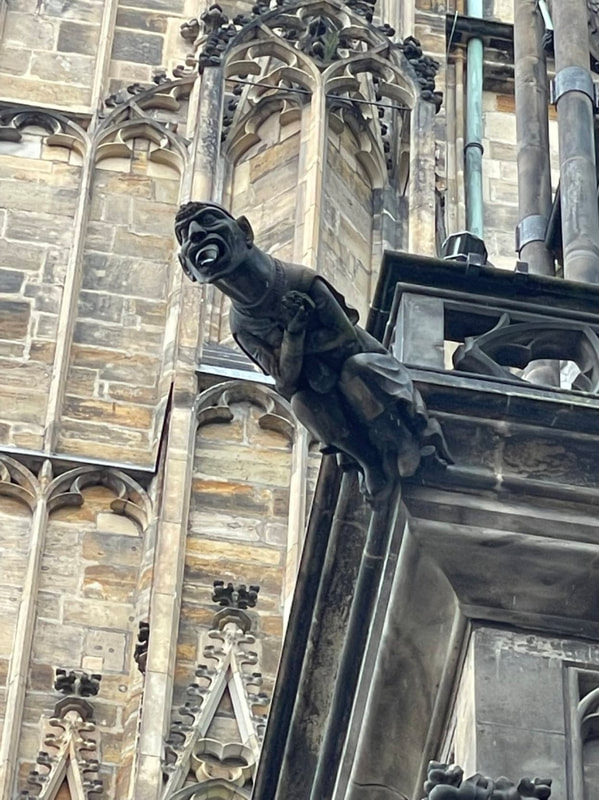
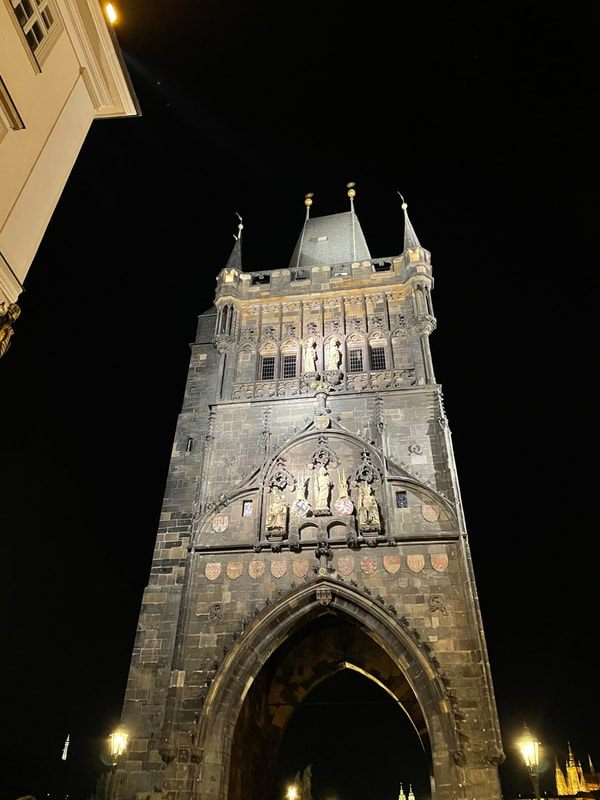
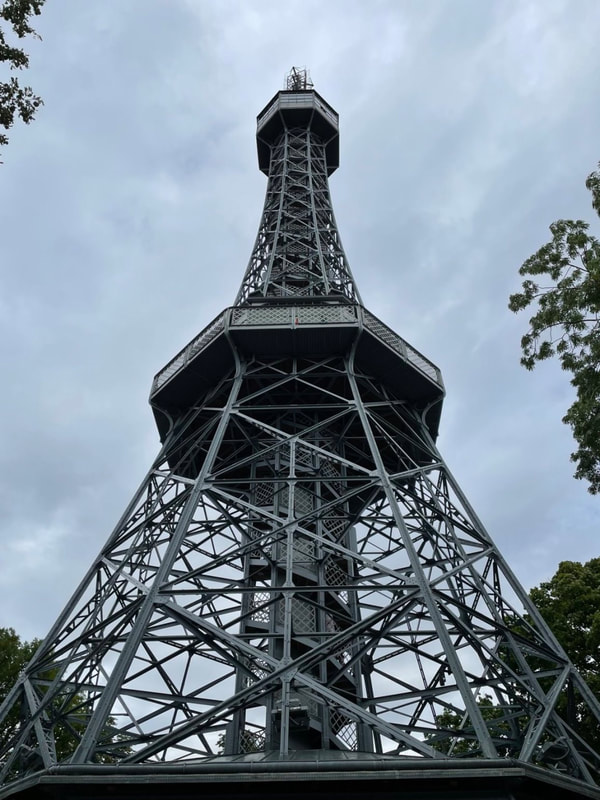
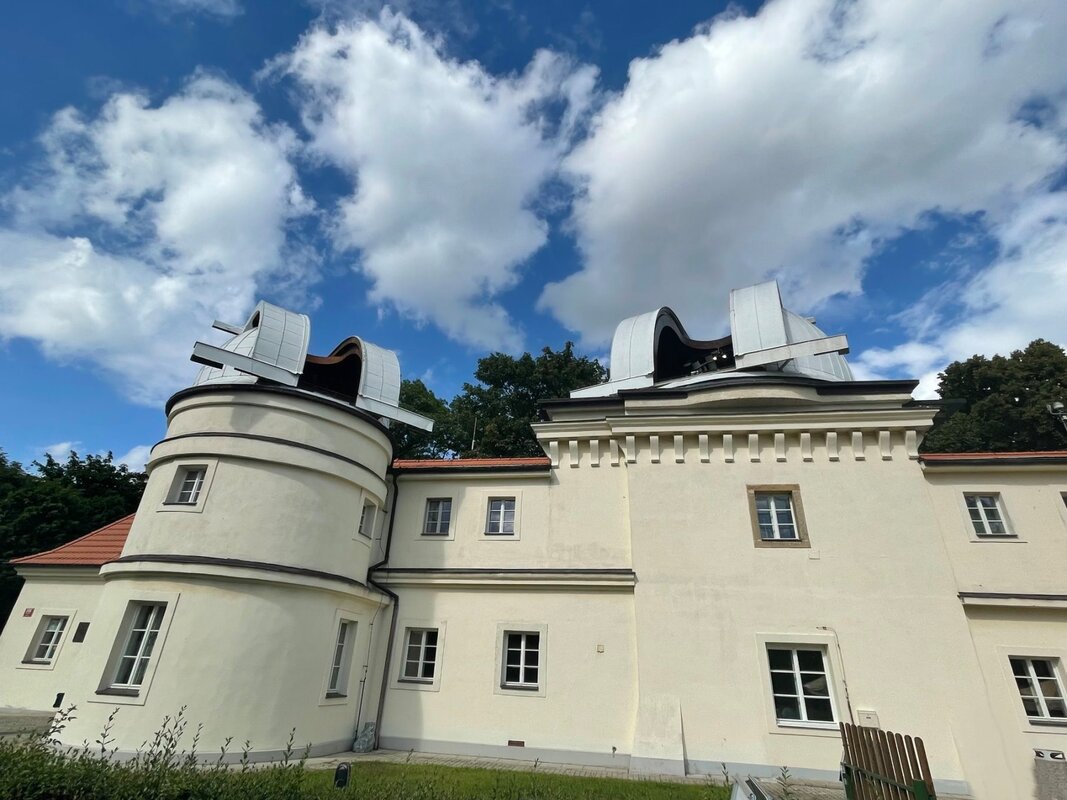
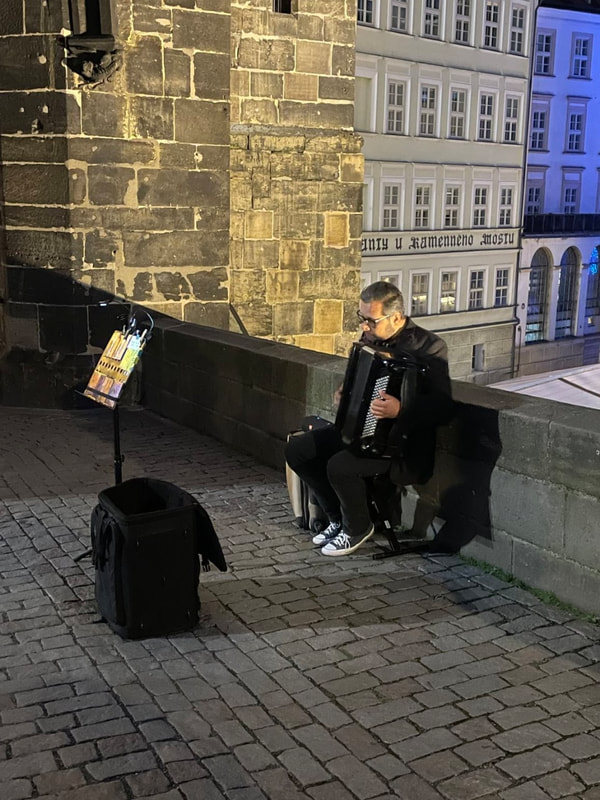
The Sights Along the Danube Are Stunning As mentioned in the previous blog post, on our 14-day trip from Budapest to Prague we visited Hungary, Slovakia, Austria, Germany and the Czech Republic. Here are a few photos from the 560 mile trip aggregated by Country (click on any photo to start the slideshow):
You can see all the photos of our trip up the Danube on the Adventures/Europe page. Cruising the DanubeWe Just returned from a 14-Day trip to Central Europe. We started the trip by spending 3 days in Budapest and ended the trip with 3 days in Prague. In between we spent 7 days cruising up the Danube River. What a spectacular trip (even allowing for the additional Covid paperwork and restrictions). During our trip we visited: - Budpest, Hungary - Bratislava, Slovakia - Vienna, Austria - Krems, Austria - Durnstein, Austria - Spitz, Austria - Melk, Austria - Linz, Austria - Mondsee, Austria - Salzburg, Austria - Passau, Germany - Vilshofen, Germany - Regensburg, Germany - Prague, Czech Republic Because there were so many magnificent sights I took almost 3,000 photos - so it will take me a little time to process and upload them. But I will........ 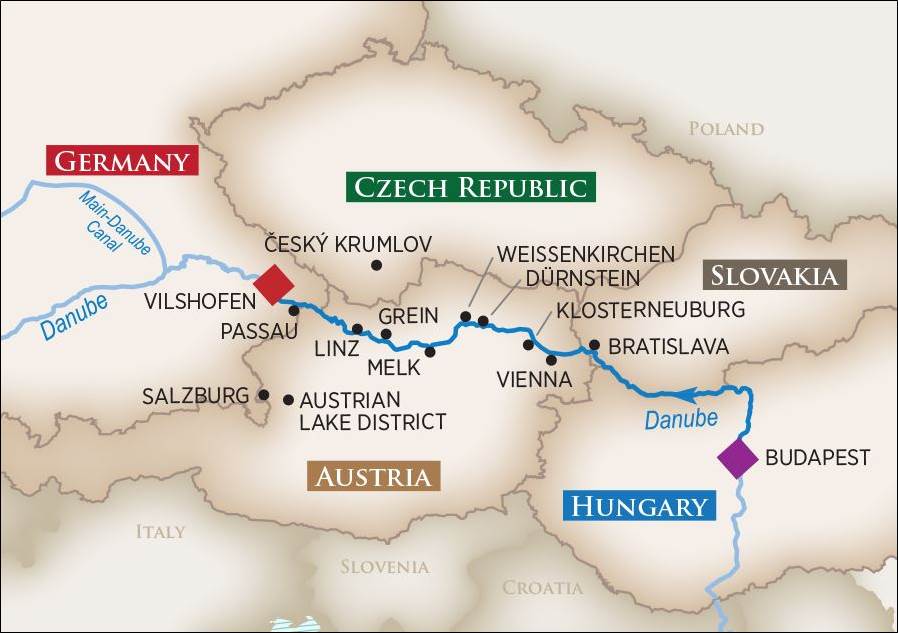 Osprey Global In-chamber Laser Boresights (9mm, .223/5.56mm and 7.62 x 39mm)One of the biggest challenges for all shooters is sighting in their forearms. It’s a process – and if you don’t know how to systematically approach it you can get very frustrated. Luckily, over the past couple of years laser boresight devices have come a long way, in physical form, range and accuracy, to help support you in your efforts to sight in a firearm. Until recently we never bothered with laser boresights because of a variety of issues: (1) had to be bolted on and aligned prior to use, (2) too bulky, (3) not strong enough to illuminate a target either outside or beyond 20 yards, (4) insufficient accuracy and (5) poor battery life. However, because of recent technical improvements, we decided to give it a go and purchased three Osprey Global “in-chamber” laser boresights: a 9mm Red Laser Boresight, a .223 (5.56mm) Green Laser Boresight and a 7.62x39 Red Laser Boresight. Each of these boresights is constructed like a round for your firearm and is made from high quality brass to ensure reliability and durability. To use the boresights all you have to do is screw off the base (equivalent to the “rim” on an actual round), insert the batteries, screw the base back on, load the boresight into the chamber of your firearm and close the breech. (Note: Once you insert the batteries the laser will activate and project from the front of the boresight – so be careful where you point it as you load it into your firearm; and don’t insert the boresight into the chamber if the firearm is hot.) After you have the laser boresight in the firearm, point it downrange at a target and adjust your sights to align with the laser dot on the target. The laser, which has been calibrated in the cartridge, is projected down the firearm’s barrel and will get you within a couple inches of center so that you can adjust your sights as appropriate. From there you can remove the laser boresight from the chamber and proceed to make the final fine sight adjustments. The “red” lasers use three LR41H/LR41/AG3/392A Alkaline 1.5V batteries and the green laser uses six (6). There are several in-chamber boresights currently on the market and we liked both the Sightmark and Osprey Global products – but purchased the Osprey boresights since they were immediately available. The boresights are backed by a lifetime warranty. You can read more about these in-chamber laser boresights on our Shooting/Range Items and Tools page. 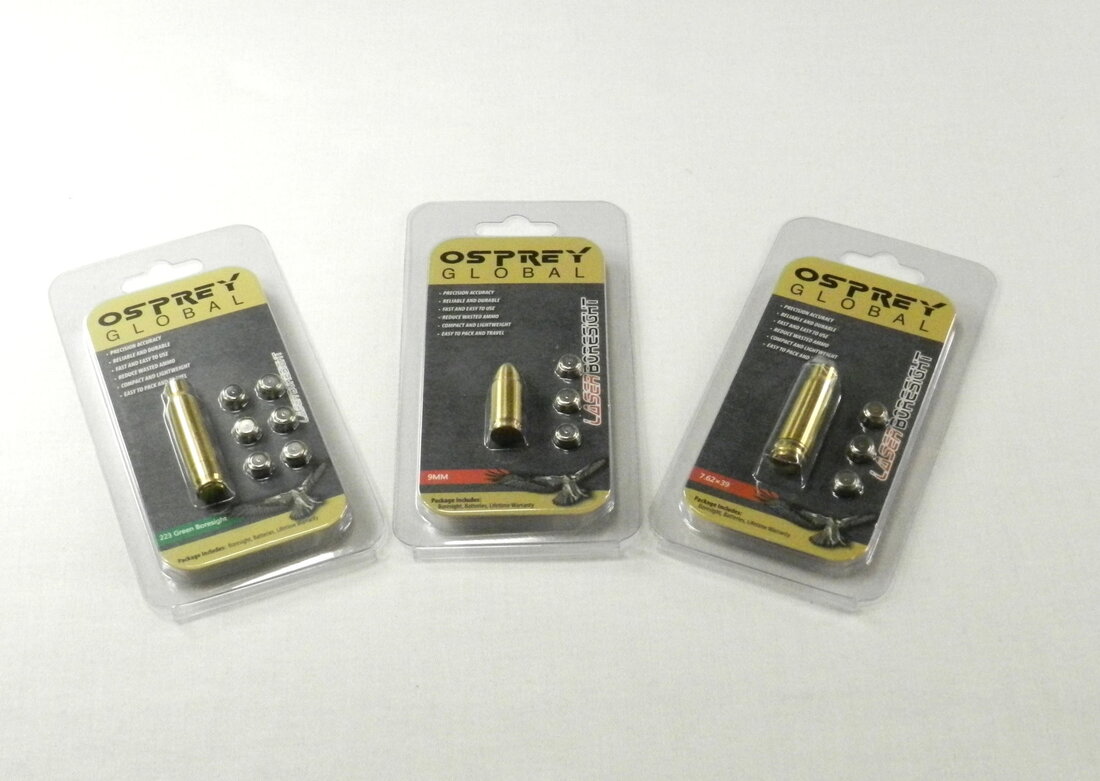 MTM Ammo Can Mini (AC15)At the range it always seems like there are odds and ends that you need near you – maybe not in your range bag – but at least in your car or truck. To keep all these small items together you need a versatile carrying case. We’ve looked for cases over the years and have used a variety of what we found in stores (e.g. tool boxes, tackle boxes, small plastic bins, etc.,), but we never loved them - since they were either too heavy or too flimsy. Recently we saw that MTM Case-Gard had come out a new “mini” sized Ammo Can; and we love MTM containers – so we tracked them down and bought a couple of them. The mini ammo can is built just like their full sized cans – but is significantly smaller with internal dimensions of 6.7"(L) x 3.4"(W) x 5.9"(H) and external dimensions of 8.4"(L) x 4.4"(W) x 6.8"(H). It will carry 12 pounds and has the same strong handle, heavy-duty latching system, water-resistant O-ring seal for dry storage and double padlock tabs for security. Although we use our mini-can for “odds and ends”, MTM says that it will hold: 700 rounds of 9mm bulk ammo. 400 rounds of 45 ACP or 223 bulk ammo, 100 rounds of boxed 28ga. or 410ga shells, or 60 rounds of 12ga. 2-3/4” shells. Like all MTM ammo cans the mini-can is designed for stacking and made of rugged polypropylene plastic. Ours are “Dark Earth” in color so that we can easily locate them – but they also come in Forest Green, Black, Orange, Red, Blue and Purple. You can read more about the MTM mini ammo can on our Shooting/Range Items and Tools page. 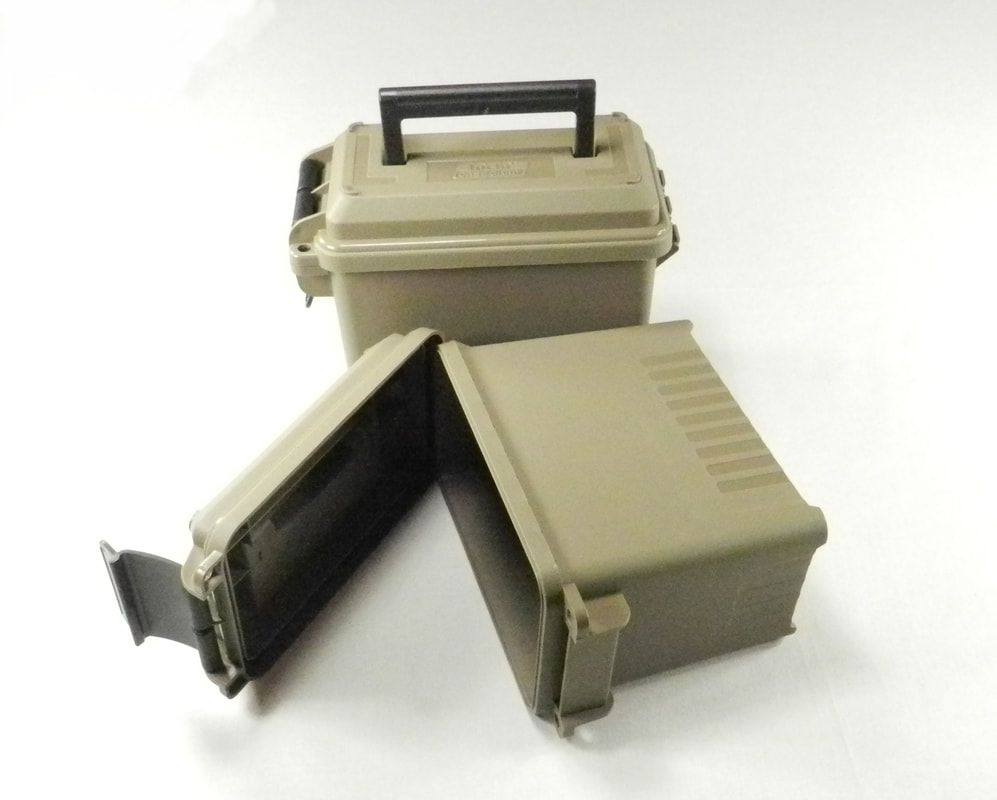 Vedder Holsters LightDraw™ Kydex OWB - S&W Shield 2.0 with Green Crimson Trace Laser When we purchased the M&P Shield 2.0 with an integrated Green Crimson Trace laser two years ago we also wanted to get a new OWB holster since the laser changes the form of the handgun. Unfortunately, although we could find a IWB holster, we couldn't find an OWB holster that fit the hand gun and met our standards for usability/comfort. So, because we had three other Vedder Holsters, every once in a while we checked to see if Vedder was producing the OWB holster that we were looking for. Recently they finally began to produce just such a holster. You can read more about this OWB holster on our Shooting/Holsters page. 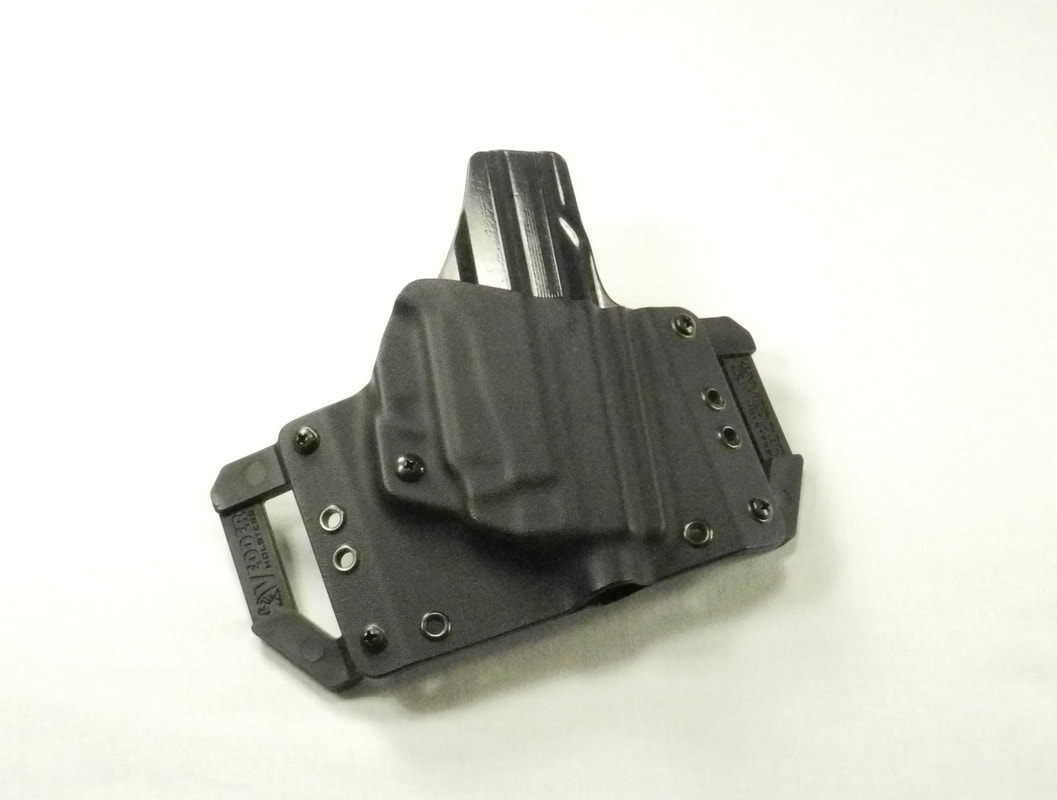 Lifestraw Personal Water FilterIf you carry water with you on a day hike you probably won’t need to locate any additional water to drink. However, in an emergency you may have to. Because of this we think it’s a good idea to have the ability to purify water with you. Of course the problem is how to balance the need to be prepared for an unlikely occurrence with the weight and bulk of carrying “just one more thing” in your day pack. Because of this we've added a Lifestraw Personal Water Filter to our hiking day pack. You can read more about the Lifestraw on our Hiking/Emergency Supplies page. 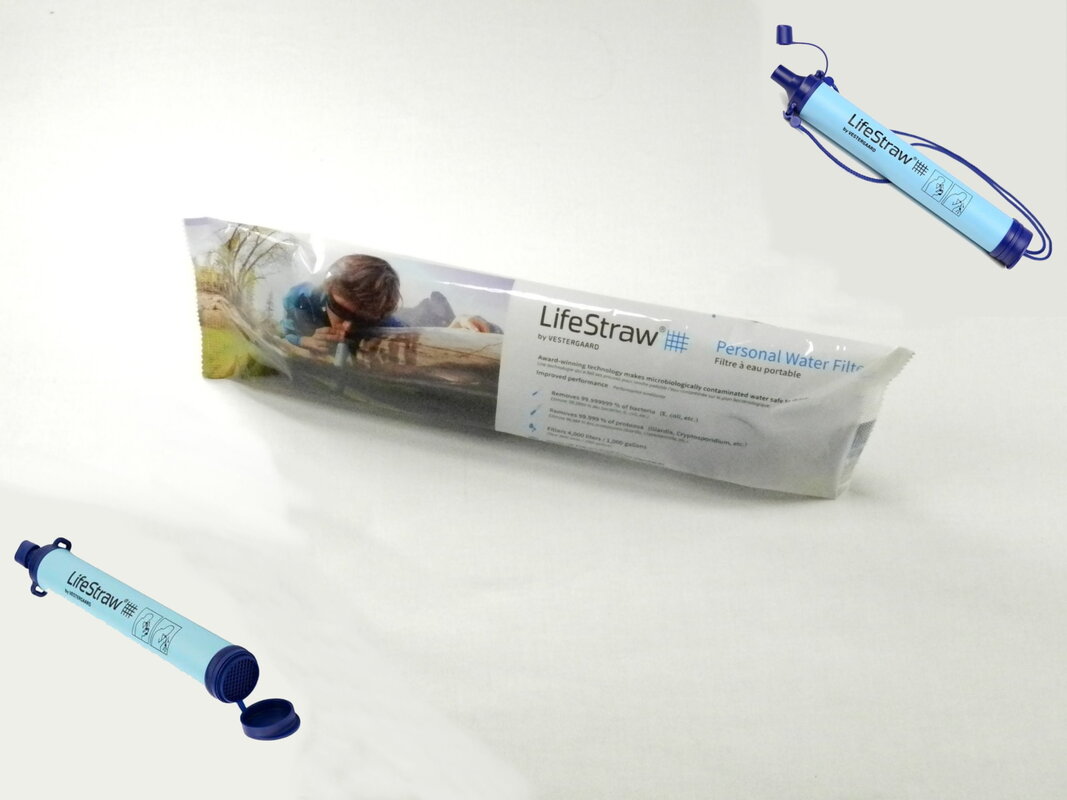 Moonlight - How Bright You Shine Tonight This Monday, 26 April, was another Pink Super Moon. The Pink Moon occurred 12 hours before the Moon reached perigee (the moon’s closest position to Earth due to the fact that the moon's orbit around the Earth is slightly elliptical) so that made this Pink Moon also a Super Moon – the term used when the moon is full while closest to the Earth. Here are some photos showing what we saw of the Pink Super Moon here in New England: (click on any photo to start the slideshow): The moon actually reached perigee at 11:22 AM EDT on 27 April; when it was just 222,064 miles (357,377 kilometers) away from the Earth. During a super moon, the full moon can appear up to 14% larger and 30% brighter than when it is at its farthest from Earth. Monday’s Pink Super Moon was ~8% closer than the distance of an average full moon (240,000 miles or 384,400 km) and was the first, and one of only two, super moons of 2021. So why the term “Pink Moon”? In the 1930s the Maine Farmer's Almanac began publishing American Indian Moon names for the months of the year. Accordingly, the April full moon was called a Pink Moon, named after creeping phlox; a plant native to the eastern United States that is one of the earliest flowers of spring. Other names for this moon include the Sprouting Grass Moon, the Egg Moon and the Fish Moon. Last year, on 7 April, we also had a Pink Super Moon. Here’s our blog and photos from that night: "April’s Pink Super Moon - How Beautiful Are These Night Sky Photos?" If you want to learn more about Pink Moons, or other phases of the moon, you might want to check out the Full Moon Phases website. Here’s the link to their Pink Moon information: http://fullmoonphases.com/pink-moon/ MecArmy X2S Stainless Steel LED Flashlight With the recent advances in LED and rechargeable battery technologies the ability to have a bright flashlight in a very small form factor improves every month. Most of them can even be recharged using your cell phone charger. Because of this we decided to add a small micro USB rechargeable flashlight to our Hiking daypack - since you never know when you might get caught in the dark - and if that happens you're going to be glad that you have a light with you. After looking at several of the best small flashlights on the market we purchased the MecArmy X2S Stainless Steel LED Flashlight. The X2S measures only 1.75 inches long by .57 inches wide and weighs only .75 ounces – but will throw a maximum of 130 lumens almost 200 feet. You can read more about this powerful, but tiny, flashlight on our Hiking/Emergency Supplies page. 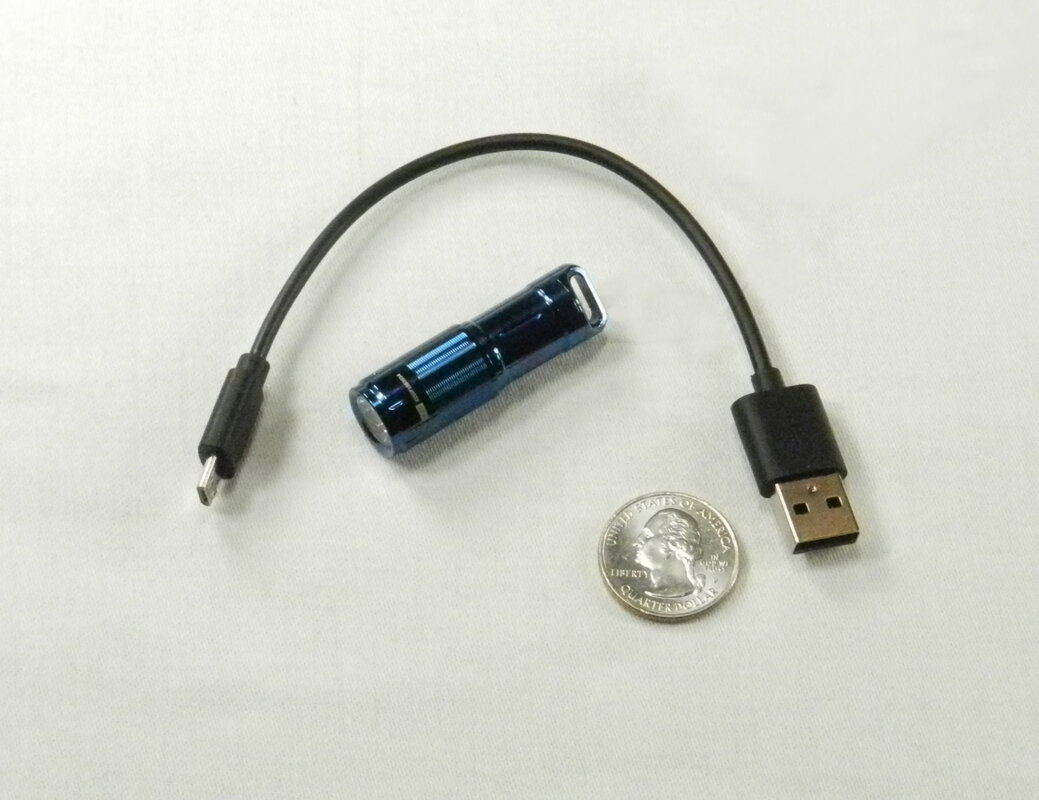 5.11 Tactical Men's Military Trainer Belt Earlier this week we were at the outdoors range (yea – the Spring weather is finally here in New England) and got into a discussion about the best belts to support your holster and tactical activities. So, although we don’t normally spend much time discussing the clothes you need for Hiking, Camping and Shooting since they vary too much by local environment, since belts are a little different – we added some information about the belts that we’ve been using for the past 4 years (after trying lots of other belts through the years) to the Shooting/Holsters page. If you need a good belt for your holster, and other EDC gear, you should take a look. 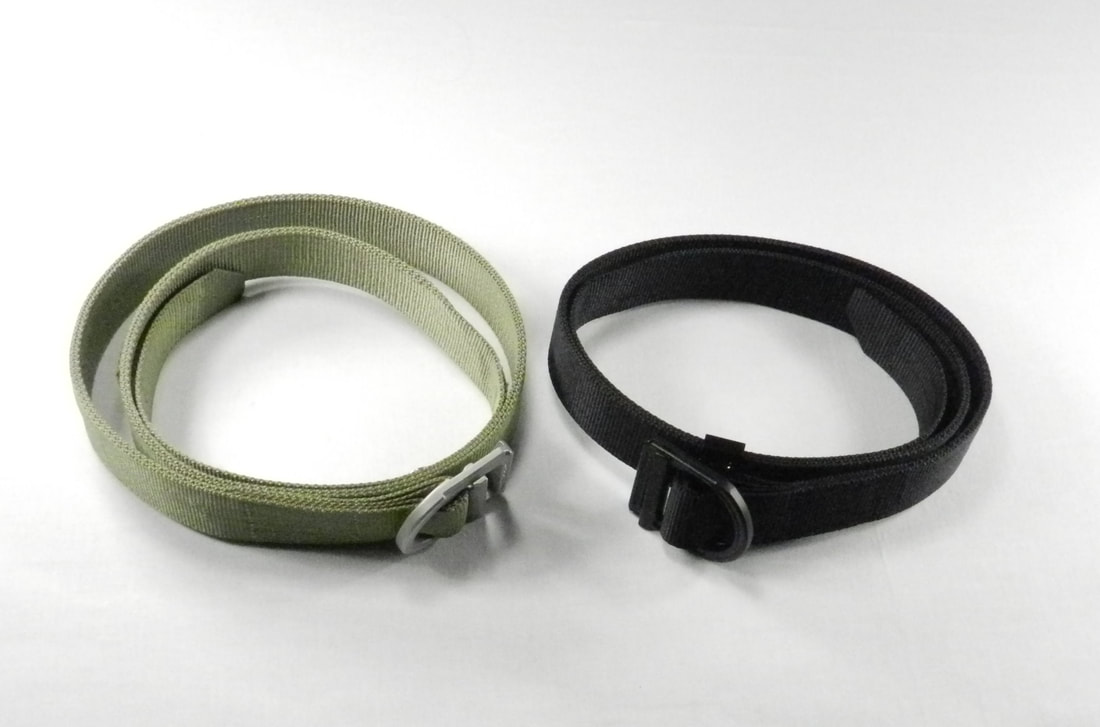 |
What's On This Page?Here's where we post reviews, questions, answers, thoughts and other information that's of general interest to our followers in a blog format. Categories
All
Archives
August 2023
|


 RSS Feed